Learning how to make chocolate shrooms is a pretty straightforward process. At its core, you're just melting high-quality chocolate, mixing in finely ground mushroom powder, and letting it all set in molds. This simple method is key to masking that earthy flavor and—more importantly—ensuring each piece is dosed consistently.
Your Guide to Crafting Mushroom Chocolates at Home
Welcome to the definitive guide for making your own mushroom-infused chocolates. This isn't just a recipe; it's a deep dive into the art and science of creating a premium, perfectly dosed edible right in your own kitchen. We'll explore why chocolate is such a fantastic partner for mushrooms, from its rich flavor to its uncanny ability to guarantee a reliable experience.
The pairing of mushrooms and chocolate is about more than just taste. It’s about creating a better, more trustworthy product. The robust flavor of good cacao effortlessly covers the sometimes-funky taste of dried mushrooms. But the real magic happens when you suspend the mushroom powder in melted chocolate—it creates a perfectly uniform blend, so every single piece contains a predictable dose.
Why Homemade Beats Store-Bought
Making your own mushroom chocolates puts you in the driver's seat. You have complete control over every single detail, from the quality of the chocolate you use to the final potency of each bite. This DIY approach means you know exactly what you're getting.
Here are a few of the biggest advantages:
- Ingredient Quality: You get to pick premium, organic chocolate and use mushrooms you trust. No weird fillers or mystery additives.
- Dosage Precision: You decide the exact potency per piece. This is perfect whether you're aiming for a subtle microdose or a more significant journey.
- Flavor Customization: Feel like adding a pinch of sea salt, some chopped nuts, or a dash of spice? Go for it. You can create a flavor profile that's uniquely yours.
The interest in these kinds of edibles has absolutely exploded. The U.S. psychedelic mushroom market hit a staggering USD 2.25 billion in 2024, with chocolates leading the charge in popularity. Over in Canada, one study found that a whopping 91.3% of online psilocybin dispensaries sold infused chocolates, which just goes to show how much people prefer this tasty format. You can learn more about the growing popularity of mushroom edibles and check out other market insights online.
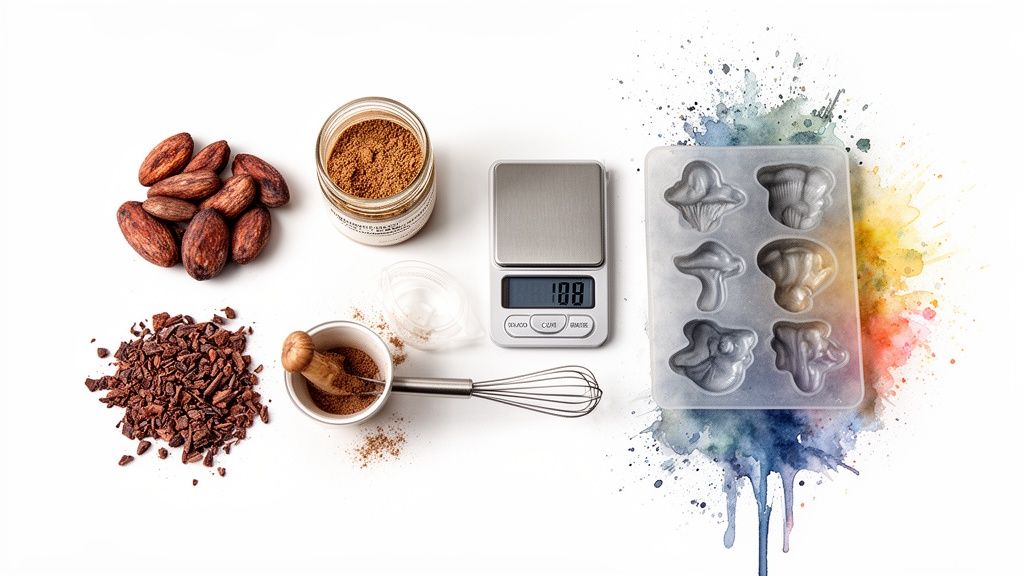
A Note on Preparation: The foundation of any great mushroom chocolate is preparation. This means starting with bone-dry mushrooms and grinding them into a powder as fine as you can get it—think flour consistency. This step is absolutely non-negotiable if you want a smooth texture and even infusion.
This guide will give you the confidence to start creating your own high-quality mushroom chocolates. By focusing on the right ingredients, precise measurements, and a bit of care, you can craft something that is both enjoyable and effective. Let's get started.
Getting Your Mushrooms Ready for a Perfect Infusion
The real secret to making incredible mushroom chocolates isn't some fancy, complicated recipe. It all comes down to the prep work. This is the foundation for a smooth, potent, and professional-quality chocolate bar, and every single step—from drying to weighing—matters.
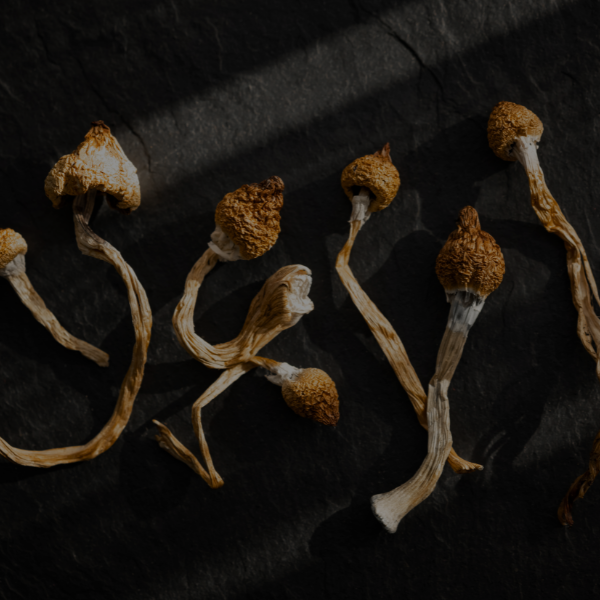
Before you even think about touching the chocolate, your mushrooms need to be completely, totally, cracker-dry. I mean, they should snap cleanly when you bend them, with zero flexibility.
This isn't just a friendly tip; it's the golden rule. Any leftover moisture is the mortal enemy of melted chocolate. Even a single drop can cause the chocolate to seize, which turns your beautiful, silky liquid into a grainy, clumpy mess that’s basically useless. Moisture also kills the shelf life of your chocolates, creating a perfect environment for spoilage down the road.
Tools and Tricks for the Grinding Process
Once you're 100% sure your mushrooms are bone dry, it's time to turn them into a fine, consistent powder. The goal is a texture like cocoa powder. A finer grind helps the mushroom bits disappear into the chocolate, which means no gritty texture and a much more even distribution.
You’ve got a couple of good options here, each with its own vibe.
- Electric Coffee Grinder: This is the fast lane. A dedicated grinder for spices or coffee will turn dried mushrooms into a super-fine powder in just a few seconds. Just use short pulses so you don't overheat the grinder or the mushrooms.
- Mortar and Pestle: For those who like a more hands-on, traditional approach. It takes more elbow grease, but it gives you total control over the final texture. It's a great choice if you're working with a smaller batch or just enjoy the process.
No matter which tool you go with, keep grinding until there are no big pieces or flakes left. Getting that uniform consistency is what makes accurate dosing possible later on.
Weighing for Precision and Consistency
After grinding, you'll have a light, fluffy powder. The last and most important step here is to weigh it accurately. Please, do not eyeball this. A digital scale that measures down to at least a tenth of a gram (0.1g) is an absolute must-have for anyone serious about making these chocolates responsibly.
An accurate measurement at this stage is the foundation of predictable dosing. Knowing the precise weight of your mushroom powder is the only way to calculate the potency of each individual chocolate piece later in the process.
This one simple action takes all the guesswork out of the equation. If you know you're starting with exactly 5.0 grams of mushroom powder, you can confidently figure out the strength of each piece, whether you're making a dozen small chocolates or one big bar. It's the critical step that guarantees safety and consistency from one batch to the next.
For more detailed tips on this initial stage, you can explore our guide on how to prepare magic mushrooms for various uses. Nailing this prep work ensures your infusion will be flawless and your chocolates will turn out perfect every time.
Mastering Chocolate Tempering for a Professional Finish
With your mushroom powder ready to go, it’s time to tackle the heart of the craft: melting and tempering the chocolate. This step is about so much more than just turning solid chocolate into a liquid. It's a precise technique that gives high-end chocolates their signature glossy shine and that satisfying snap when you bite into them.
More importantly, proper tempering creates a stable final product. If you skip this, you’ll likely end up with “bloom”—those chalky, white streaks that give chocolate a soft, crumbly texture. Mastering this process is what separates a simple homemade treat from a truly gourmet edible that looks and feels professional.
But before the chocolate even enters the picture, your botanical prep has to be on point.
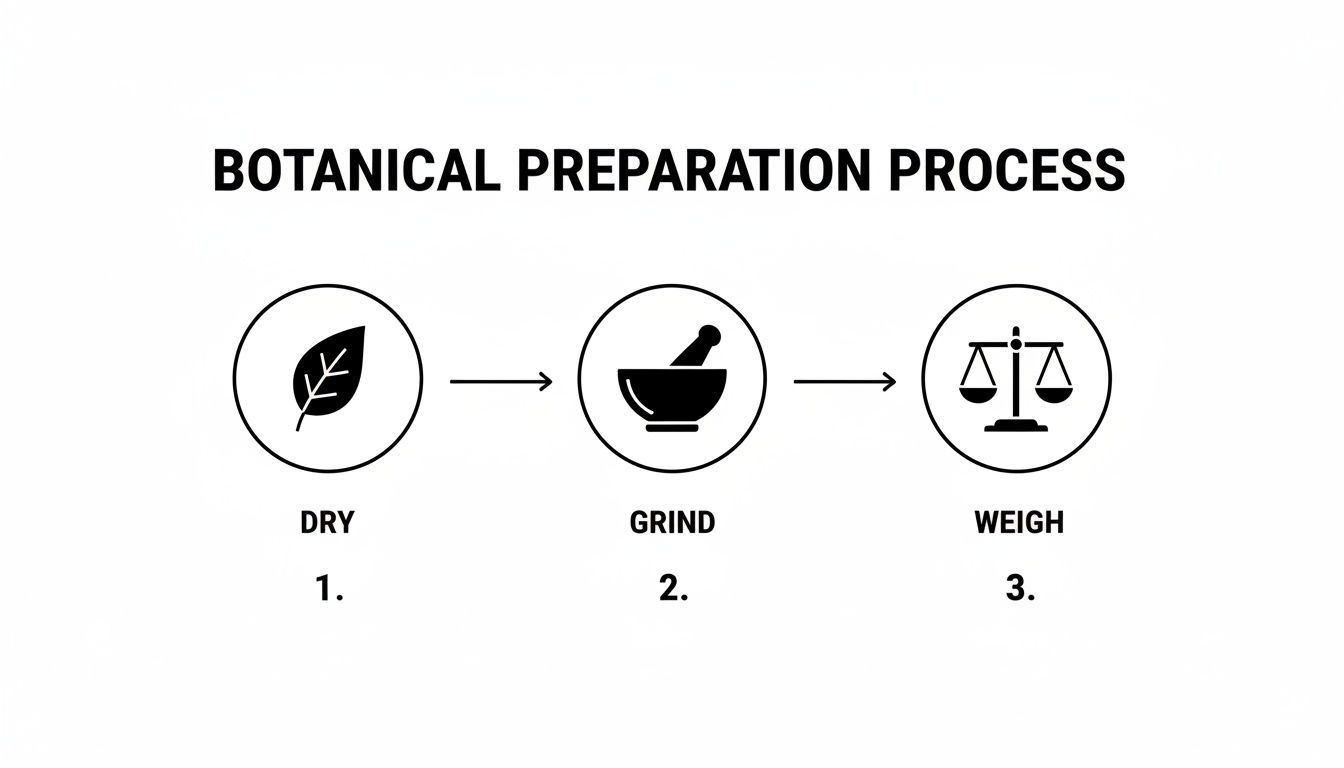
This simple three-step process—drying, grinding, and accurately weighing—is the foundation for a perfectly dosed and beautifully textured final product. Get this right, and everything that follows becomes much easier.
The Double Boiler Method Explained
The most reliable way to temper chocolate at home is with a double boiler. This setup provides gentle, indirect heat, which gives you maximum control and prevents the chocolate from scorching.
Don't have one? No problem. You can easily rig one up by placing a heat-proof bowl over a saucepan filled with a couple of inches of simmering water. The key is making sure the bottom of the bowl never touches the water. You want the steam to do the work, not direct heat. This gentle approach is crucial for hitting the precise temperatures tempering requires.
Navigating Chocolate Tempering Temperatures
Different types of chocolate have unique crystal structures, which means they each need to be heated and cooled to very specific temperatures. A reliable digital food thermometer is your best friend here—don't even think about trying to guess.
Here are the target temperatures you’ll need to hit:
- Dark Chocolate: Melt to 46-49°C (115-120°F), cool down to 27°C (81°F), then gently reheat to a working temperature of 31-32°C (88-90°F).
- Milk Chocolate: Melt to 40-45°C (104-113°F), cool to 26°C (79°F), then reheat to 29-30°C (84-86°F).
- White Chocolate: Melt to 40-45°C (104-113°F), cool to 25°C (77°F), and finally reheat to 28-29°C (82-84°F).
This controlled heating, cooling, and reheating process is what aligns the cocoa butter crystals into a stable form, creating that perfect final texture and appearance.
Infusing the Mushroom Powder
Once your chocolate hits its ideal working temperature, it’s go-time. Take the bowl off the heat immediately. You need to work quickly but deliberately before the chocolate starts to set.
Sprinkle your mushroom powder over the surface of the melted chocolate and start folding it in gently with a silicone spatula. Use slow, methodical strokes, making sure to scrape the bottom and sides of the bowl. The goal here is a completely homogenous mixture with no clumps or dry spots. A smooth blend is non-negotiable for consistent dosing.
Pro Tip: For an ultra-smooth finish, sift your mushroom powder through a fine-mesh sieve as you add it to the chocolate. This extra step breaks up any small clumps and guarantees a silky final product with zero grittiness.
This process is gaining serious traction. Established makers often temper chocolate to 31-32°C and infuse 10-20% mushroom powder by weight, resulting in products that earn 85% rave reviews. It's part of a much larger movement—the global psychedelic mushroom market is projected to hit USD 6.2 billion in 2024 and could double by 2030. Meanwhile, functional mushroom chocolates are on track to become a $328.2 million industry by 2033. You can dig deeper and learn more about the psychedelic mushroom market's impressive growth.
Once everything is fully mixed, your infused chocolate is ready for the molds. Work efficiently, because tempered chocolate will begin to solidify pretty quickly. This careful attention to detail is what ensures every single piece is as potent and delicious as the last.
Calculating Potency for Consistent Dosing
Making your own edibles is part science, part art. But when you're learning how to make chocolate shrooms, the science part—specifically, the math—is non-negotiable. Guessing your doses is a recipe for an unpredictable time.
Properly calculating the potency of each piece is the only way to guarantee a consistent, reliable experience. It allows you to craft your chocolates for a specific purpose, whether that's a barely-there microdose or something a bit more profound.
The good news? The math is incredibly simple. All you need to do is divide the total weight of your ground mushrooms by the number of chocolates you're making.
Formula: Total Mushroom Weight (g) ÷ Number of Chocolate Squares = Dose Per Square (g)
This little formula is your best friend. It takes all the guesswork out of the equation, so you know exactly what you're getting with every single piece.
A Practical Dosing Example
Let's run through a quick, real-world scenario. Say you have 5 grams of finely powdered mushrooms ready to go, and your silicone mold has 12 individual squares.
Time for that formula:
- 5 grams (Total Mushroom Powder) ÷ 12 squares (Number of Pieces) = 0.417 grams per square.
So, each chocolate will contain just under half a gram. This is the kind of precision that separates a thoughtfully made edible from a chaotic one. If you want to play around with different amounts without breaking out the calculator every time, you can plug your numbers into our handy magic mushroom calculator to see how it all shakes out.
Understanding Dosage Ranges
The "right" dose is completely personal. It all comes down to your experience, your body, and what you hope to get out of it. Creating chocolates that hit the mark means understanding the general dosage brackets.
Here’s a quick breakdown of what to aim for:
- Microdose (0.1g – 0.3g per piece): This is the sub-perceptual dose. You shouldn't "feel" it in a psychedelic way, but it's intended to gently support things like creativity, focus, or mood.
- Low Dose (0.5g – 1.0g per piece): A great starting point for beginners. This range typically brings on mild euphoria, brighter colors, and a light shift in your headspace.
- Moderate Dose (1.0g – 2.5g per piece): This is where you enter more traditional psychedelic territory. Expect more noticeable visual patterns, deeper thoughts, and a significant change in how you perceive things.
- High Dose (2.5g+ per piece): This is for experienced users only. A dose this high can lead to a powerful, immersive psychedelic journey.
Remember, these are just guidelines. Your metabolism, body weight, and general sensitivity all matter. The golden rule is timeless for a reason: always start low and go slow.
It’s no surprise that functional foods are booming. The global mushroom chocolate market was valued at USD 142.3 million in 2024, driven by people looking for natural ways to manage stress and support their immune systems. That number is expected to jump to USD 328.2 million by 2033, showing just how mainstream this is becoming.
Sample Dosing Calculations Per Chocolate Square
To give you a clearer picture of how this works, the table below shows what you can expect from different starting amounts of mushroom powder, assuming you're using a standard 12-square chocolate mold.
| Total Mushroom Amount (grams) | Number of Chocolate Squares | Dose Per Square (grams) |
|---|---|---|
| 3.0 g | 12 | 0.25 g (Microdose) |
| 6.0 g | 12 | 0.50 g (Low Dose) |
| 12.0 g | 12 | 1.00 g (Low-Moderate Dose) |
| 18.0 g | 12 | 1.50 g (Moderate Dose) |
As you can see, the relationship between your ingredients and the final potency is direct and predictable. By taking a few moments to measure and calculate, you give yourself the power to create a delicious product that’s perfectly tuned to your personal goals.
Proper Storage to Preserve Potency and Freshness
So you’ve just finished crafting your perfect batch of mushroom chocolates. Nice work. Now comes the critical part: protecting your masterpiece. Good storage is about way more than just preventing a melted mess; it’s the key to preserving the potency, flavor, and texture you worked so hard to create.
The active compounds in your mushrooms are surprisingly delicate. They have four main enemies: heat, light, air, and moisture. Each one of these will happily break down those precious compounds, leaving you with a weaker, less effective product over time.
Think of your chocolates like a high-end botanical infusion, because that’s exactly what they are. Just like you wouldn't leave expensive tea leaves or rare spices out on the counter, your chocolates need protection from the elements. A little care right now ensures the last piece is just as good as the first.
Short-Term Storage Solutions
If you're planning on enjoying your chocolates within the next few weeks or maybe a couple of months, your storage strategy is pretty straightforward. You just need to find a spot that’s consistently cool, dark, and dry. Think of a pantry, a cupboard that isn't next to the stove, or even a drawer in a cooler room.
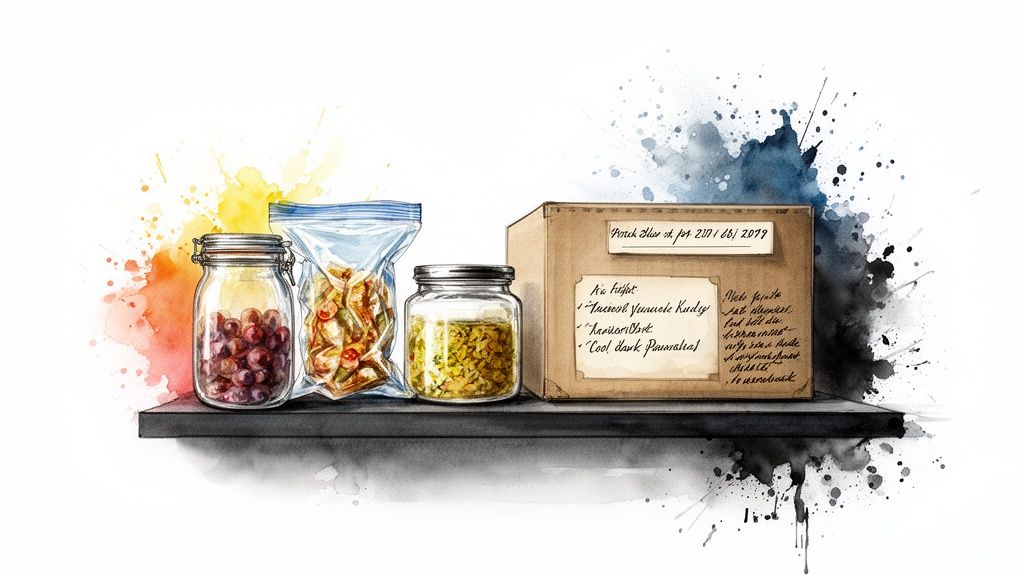
An airtight container is your best friend here. This can be a glass jar with a solid lid, a quality plastic container, or a thick zip-top bag with all the air squeezed out.
- Skip the Fridge: It might seem like the obvious choice, but the refrigerator is usually too humid. This excess moisture can make your chocolate "sweat" or develop a white, sugary bloom on the surface, which ruins the texture.
- Keep It in the Dark: Make sure your container is stored away from direct sunlight. UV rays are especially good at degrading the active compounds you want to preserve.
When stored properly at room temperature, your mushroom chocolates can easily stay potent and fresh for several months. The main thing to avoid is big temperature swings that can cause the chocolate to soften and harden repeatedly.
Long-Term Preservation Methods
Made a big batch? Or maybe you want to save some for a special occasion up to a year or more down the road? In that case, the freezer is your best bet. Freezing, when done right, essentially hits the pause button on the degradation process, locking in both potency and flavor.
The biggest risks in the freezer are freezer burn and moisture. To head them off, you need to create a completely airtight seal.
- Wrap Them Up: Start by wrapping your individual chocolates tightly in plastic wrap or aluminum foil. This is your first line of defense.
- Vacuum Seal If Possible: For maximum protection, put the wrapped chocolates into a vacuum-sealed bag. This removes virtually all the air, which is a huge culprit in potency loss.
- Use a Good Container: No vacuum sealer? The next best thing is a high-quality, airtight freezer bag or container. Just be sure to squeeze out as much air as you can before sealing it shut.
When you’re ready to enjoy them, let the whole container thaw out in the fridge before you open it. This slow temperature change prevents condensation from forming directly on the chocolate. If you want to get really nerdy about it, our full article explores the question, "do shrooms lose potency?" and breaks down how different storage methods stack up.
And one last thing—always label everything. Use a permanent marker to write the creation date and the dose per piece right on the bag or container. It’s a simple step, but it’s a non-negotiable safety measure to make sure you always know exactly what you’ve got.
Common Questions About Making Chocolate Shrooms
Even with a solid recipe, you're bound to have questions when you first start making your own mushroom chocolates. It’s all part of the process. Below, I’ve tackled some of the most common issues and questions that pop up, drawing from my own experiences to help you get a perfect, professional-quality batch every single time.
What Type of Chocolate Is Best to Use?
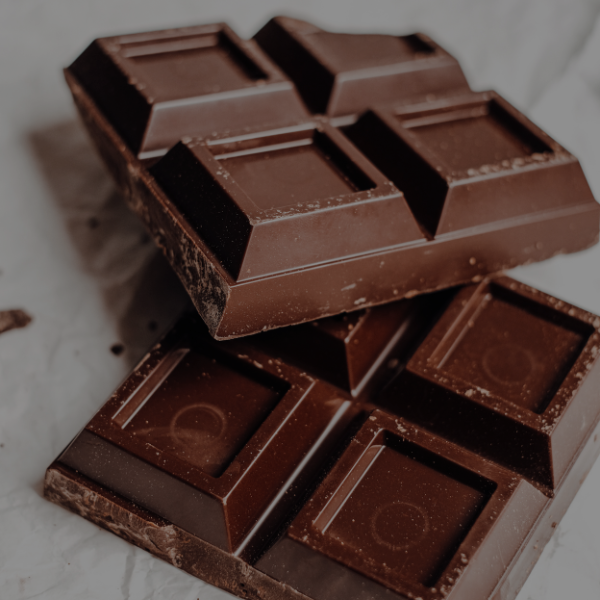
The kind of chocolate you choose will make or break your final product, both in taste and texture. I always recommend a high-quality dark chocolate with 60-75% cacao. Its rich, slightly bitter notes are fantastic for masking the earthy, sometimes funky taste of the mushrooms.
From a technical standpoint, dark chocolate is also much easier to work with. It has a higher cocoa butter content, which makes it more stable and predictable during tempering. That stability is what gives you that satisfying snap and glossy shine you see on professional chocolates.
You can use milk chocolate, but its high sugar and milk content makes it softer and much easier to burn when melting. And while white chocolate is an option, its delicate flavor profile usually isn't strong enough to cover up the mushroom taste. If you're just starting out, stick with a good dark chocolate—it's the most reliable path to success.
Can I Use a Microwave Instead of a Double Boiler?
Technically, yes, but I strongly advise against it, especially for beginners. The biggest risk is scorching your chocolate. Microwaves create intense, uneven hotspots that can instantly burn parts of the chocolate, ruining the flavor and making it a clumpy, unusable mess.
A double boiler gives you gentle, indirect heat. This is the key to the precise temperature control you need for proper tempering. It gives you the time to watch the chocolate closely and hit your target temperatures without the stress of accidentally ruining the whole batch.
If a microwave is your only option, be extremely careful. Use a low power setting (50% or less), heat in very short bursts of 15 seconds, and stir thoroughly after every single interval. Honestly, though, learning to use a double boiler is a skill that will guarantee better results and save you a lot of frustration in the long run.
Why Do My Finished Chocolates Have White Streaks?
Ah, the dreaded white or grayish streaks. That's a classic sign of improper tempering, and it has a name: "fat bloom." This happens when the cocoa butter crystals in the chocolate separate and don't set into a stable, uniform structure.
When you just melt chocolate and let it cool without tempering, the fat rises to the surface as it solidifies. Not only does it look unappealing, but it also makes the chocolate soft and crumbly, causing it to melt instantly in your hands.
The only way to avoid fat bloom is to follow the tempering temperature guidelines to the letter. A digital food thermometer is non-negotiable here. By carefully controlling the heat as you melt, cool, and gently re-warm the chocolate, you're forcing those cocoa butter crystals to line up perfectly. This is the secret to getting that flawless, glossy finish.
How Long Do Homemade Chocolate Shrooms Last?
With the right storage, your homemade chocolates can stay potent and delicious for a surprisingly long time. It all comes down to how you store them.
Here's a quick guide to shelf life:
- Short-Term (Up to 3-4 months): An airtight container stored in a cool, dark place like a pantry is perfect. The most important thing is to keep them away from heat sources and direct sunlight to avoid temperature swings.
- Long-Term (Up to 1 year or more): Freezing is your best bet for long-term preservation. To prevent freezer burn and moisture damage, wrap the chocolates tightly in plastic wrap or foil first. Then, place them in a vacuum-sealed bag or a freezer-safe airtight container.
When you’re ready to enjoy them, let the sealed container thaw in the fridge before you open it—this stops condensation from forming on the chocolate. Most importantly, always label your container with the date and the dosage per piece. This is a critical safety practice for responsible home production.
Ready to explore a world of high-quality mushroom products delivered right to your door? At The Magic Mushroom Delivery, we offer a curated selection of chocolates, gummies, and more, all crafted with premium ingredients for a reliable experience. Check out our collection and see why thousands of customers trust us for their wellness journey. Visit us today at https://themagicmushroomdelivery.com and discover your new favorite.