If you've ever held a freshly picked mushroom, you know how delicate and full of life it feels. That's because fresh mushrooms are mostly water—we're talking 85-90% of their weight. This high water content makes them incredibly perishable.
Leave them out for a few days, and you'll see them start to break down, becoming a prime target for mold and bacteria. Drying is the single most effective way to stop this decay in its tracks. By removing that moisture, you’re basically hitting the pause button on decomposition, creating an environment where those pesky microorganisms can't survive.
But drying does more than just extend shelf life. It’s a transformative process. As the water evaporates, the mushroom’s essence—its flavors, aromas, and active compounds—becomes much more concentrated. Whether you're working with gourmet culinary types or potent functional mushrooms, knowing how to dry them properly is fundamental to preserving their integrity. If you're curious about the science behind these active compounds, our article on the differences between psilocin and psilocybin is a great place to start.
Key Benefits of Drying Mushrooms
Drying isn't just a defensive move against spoilage; it comes with a whole host of benefits that impact everything from potency to how you store them. Here’s a quick rundown of why this step is so crucial:
- Long-Term Storage: This is the big one. Properly dried mushrooms can last for a year, sometimes even longer, when stored in airtight containers. That’s a massive upgrade from the few days you'd get from a fresh batch.
- Concentrated Potency and Flavor: When you remove the water, what's left behind gets concentrated. This means more intense flavors and a higher concentration of the active compounds you're after.
- Prevention of Contamination: Moisture is mold's best friend. By eliminating it, you're creating a fortress against contamination that could ruin your entire supply and even pose health risks.
- Easier Dosing and Preparation: Dried mushrooms are brittle, making them incredibly easy to grind into a powder. This opens up a world of possibilities for precise measurement and use in capsules, teas, or edibles.
Your goal is simple: get them "cracker-dry." This isn't just a catchy phrase—it's the gold standard. A perfectly dried mushroom should snap cleanly when you try to bend it. If it folds or feels even slightly leathery, there’s still moisture hiding inside, and that’s a recipe for spoilage down the line.
Ultimately, learning how to dry mushrooms is a foundational skill for any serious enthusiast. It’s what ensures all your effort in sourcing or growing them pays off with a safe, potent, and long-lasting supply. In the next sections, we'll walk through exactly how to do it, from using a dehydrator to some clever at-home alternatives.
Using a Food Dehydrator for Reliable Results
When you absolutely need consistent, predictable results, a food dehydrator is the undisputed champion for drying mushrooms. It’s a tool built for one job: to gently and evenly pull moisture out using low heat and constant airflow. That precision is exactly what you need to protect the delicate compounds inside while making sure your mushrooms are perfectly preserved, every single time.
First things first: preparation. The golden rule here is to avoid water. Mushrooms are like little sponges, and rinsing them just adds moisture you’ll have to spend hours removing. Instead, grab a soft brush or a dry paper towel and gently wipe away any lingering dirt or substrate. It’s a simple step, but it makes a big difference.
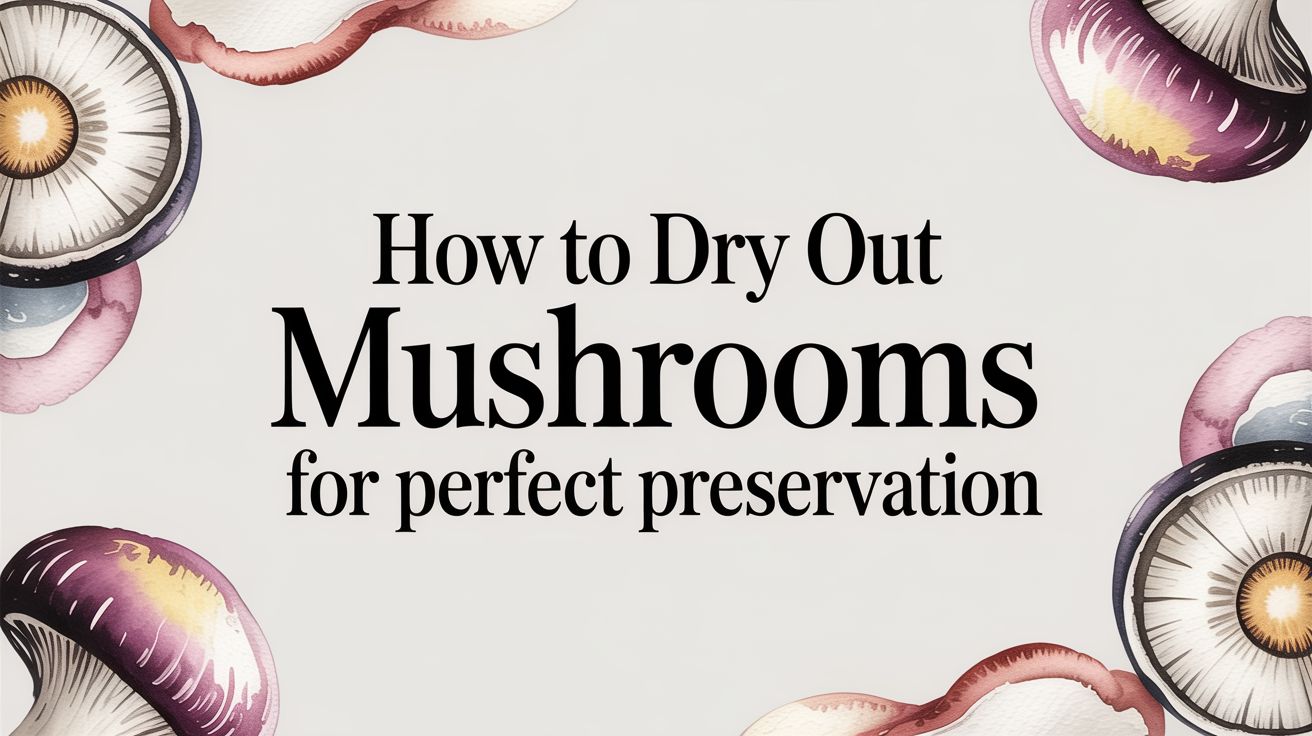
This infographic lays out the essential journey from fresh to fully preserved, showing why proper drying is so critical.

As you can see, removing that moisture is what gives your mushrooms real long-term stability.
Setting Up Your Dehydrator Correctly
Once they’re clean, you’ll need to decide whether to slice them. Smaller mushrooms can often be left whole, but any larger ones should be cut into uniform slices, roughly 5-10mm (¼ inch) thick. Keeping the thickness consistent is the secret to making sure everything dries at the same rate.
Now, arrange your mushrooms on the dehydrator trays. The key is to give each piece a little personal space. Don’t let them touch or overlap—this guarantees warm air can circulate freely around every single surface, which is essential for even drying.
Pro Tip: It’s tempting to cram as much as possible onto your trays, but don't do it. Proper airflow is non-negotiable for good results. A little extra space goes a long way in preventing damp spots and unevenly dried mushrooms.
Finding the Sweet Spot for Temperature and Time
The ideal temperature for drying is a delicate balance. You want it warm enough to be efficient but not so hot that you risk degrading the valuable compounds. For most mushrooms, the sweet spot is between 40-60°C (105-140°F).
This isn't just guesswork; the science backs it up. Convective hot air drying in this range is a proven method for turning fresh fungi into a shelf-stable product. In one study on oyster mushrooms, researchers found that bumping the temperature from 40°C to 60°C cut the total drying time by a massive 43.7%. This works because the higher heat speeds up moisture evaporation without wrecking the mushroom's quality—a crucial advantage when you're starting with something that's 85-90% water. You can dive deeper into these mushroom drying findings if you're curious.
To give you a better idea of what to expect, here’s a quick reference guide for some common setups.
Mushroom Dehydrator Temperature Guide
Dialing in the right temperature and time is key. Use this table as a starting point, but remember that your specific dehydrator model and the humidity in your room will play a role.
| Mushroom Type/Size | Optimal Temperature (°C/°F) | Estimated Drying Time (Hours) |
|---|---|---|
| Small, Whole Mushrooms | 45-50°C / 115-125°F | 6-10 |
| Sliced (5-10mm thick) | 50-55°C / 125-135°F | 4-8 |
| Large, Dense Whole Caps | 40-50°C / 105-125°F | 8-12+ |
| Pre-Dried (Finishing Touch) | 40°C / 105°F | 1-2 |
Always start checking for dryness on the lower end of the time estimate and adjust from there.
Drying times can swing pretty wildly, usually landing somewhere between 4 and 12 hours. This big range is influenced by a few things:
- Mushroom size: Thicker pieces or whole mushrooms will always take longer.
- Your dehydrator: Some units just have more powerful fans and better airflow than others.
- Ambient humidity: It’s going to take longer to dry anything on a humid, rainy day.
To get the best results, try to rotate your trays every couple of hours. Most dehydrators have hotter and cooler spots, and rotating them around ensures every mushroom gets its fair share of heat and air.
The Final Test for Perfect Dryness
So, how do you know for sure when they’re done? You’re aiming for what’s called “cracker-dry.”
A perfectly dried mushroom should feel completely brittle. When you try to bend it, it should snap cleanly in two with a satisfying crack. If it bends, feels leathery, or has any give at all, it’s not done. Put the tray back in and check again in another hour.
Don't rush this final check. Under-dried mushrooms are the number one cause of mold and spoilage during storage, so getting them bone-dry is non-negotiable.
Drying Mushrooms Without a Dehydrator
While a dehydrator is a fantastic tool for getting precise results, it's definitely not the only way to get the job done. In fact, you can get perfectly dried mushrooms using equipment you probably already have in your kitchen.
Knowing how to dry out mushrooms with these alternative methods means you can preserve your harvest no matter what, sidestepping the common mistakes that can ruin an otherwise great batch.

All of these techniques hinge on the simple principles of heat and airflow. They're proof that you don't need to spend a bunch of money on fancy gadgets to achieve that all-important "cracker-dry" state. With a little bit of patience, your oven or even just a room with good ventilation can work wonders.
Using Your Kitchen Oven
Your oven can be a powerful substitute for a dehydrator, but you have to be careful. The biggest challenge is that even the lowest setting on most ovens is still too hot, which can end up cooking the mushrooms instead of slowly drying them out.
The trick is to set your oven to its absolute lowest temperature—ideally somewhere around 50–70°C (120–150°F). If your oven doesn't go that low, you can still pull this off. Just prop the oven door open slightly with a wooden spoon. This simple hack lets all that excess heat and moisture escape.
Here are a few tips to really dial in this setup:
- Spread your mushrooms out in a single layer on a baking sheet. Even better, use a wire rack so the air can circulate all around them.
- Try pointing a small fan at the open oven door. This creates a gentle convection current that actively pulls the moist air out of the oven.
- Keep an eye on them. You'll want to check in every hour or so since oven temperatures can fluctuate. Expect this method to take anywhere from 2 to 8 hours.
The Classic Air-Drying Method
For centuries, people have been preserving their harvests using nothing more than fresh air. This low-and-slow technique is perfect for smaller mushrooms and really shines in dry, low-humidity climates where the air does most of the heavy lifting for you.
Patience is your best friend here. It can take several days, but the payoff is a gentle, no-heat process that does an excellent job of preserving delicate compounds.
You’ve got a couple of options for how to set it up. You can thread a needle and string smaller mushrooms through their stems, creating a garland to hang in a well-ventilated spot. Or, you can lay them out on a mesh screen or rack, just making sure none of the pieces are touching.
A huge mistake people make with air-drying is putting their mushrooms in a spot with stagnant air, like a closed-off cupboard. You need constant airflow to wick that moisture away and prevent any mold from setting in. A spot near a fan or an open window is perfect.
Finishing with Desiccants
Sometimes, whether you've used an oven or air-drying, your mushrooms might still hold onto a tiny bit of moisture, especially if you live somewhere humid. This is where a desiccant comes in. It’s the perfect tool for that final step to guarantee they are absolutely, positively dry for long-term storage.
Food-safe silica gel packets are what you want. Just place your almost-dry mushrooms into an airtight container, like a big mason jar, and toss in a few desiccant packets with them.
Seal it up and let it sit for a day or two. The silica gel will work its magic, absorbing every last bit of residual moisture and taking your mushrooms from nearly dry to perfectly cracker-dry. This final touch gives you peace of mind, knowing your stored mushrooms will be safe from mold and degradation.
Advanced Techniques for Better Preservation
Once you've got the basics down, you'll probably start looking for ways to dial in your process for even better, faster results. Moving beyond the standard drying methods can seriously upgrade the final quality of your mushrooms, both in texture and how they look. These next-level techniques are perfect for anyone wanting to take their preservation game up a notch.
One of the most effective methods I've come across is osmo-air drying. It’s a two-step approach that combines a pre-treatment soak with your regular dehydration. The main idea is to first place your mushrooms in a hypertonic solution—which is just a fancy way of saying a simple salt and water mix—to pull out a good chunk of the moisture before any heat ever touches them.
This pre-soak works through osmosis. Water naturally wants to move from an area with less stuff dissolved in it (the mushroom) to an area with more (the salty water). This simple science gives your dehydrator a massive head start.
The Science of Osmo-Air Drying
The real beauty of this hybrid method is speed. By getting rid of a significant amount of water weight beforehand, you slash the total time your mushrooms need to spend in the dehydrator. This can be a total game-changer, especially when you're working with a big harvest.
Just how efficient is it? In studies on white button mushrooms, fresh samples treated with a 25% salt solution took only 240 minutes to dry completely at 55°C. For comparison, the untreated mushrooms took a full 340 minutes. That’s a time saving of nearly 30-47%. You can dig into the full shelf-life study on osmo-air dried mushrooms to see the data for yourself.
Think about it: by drawing out nearly half the water before they even see warm air, you not only speed things up but also put less thermal stress on the mushrooms. This helps to better preserve their delicate structure and compounds.
Pre-Treatments for Color Preservation
Here’s another pro tip: use a simple pre-treatment to stop them from browning. Some mushroom varieties can oxidize and darken as they dry. It's mostly a cosmetic issue, but let's be honest, we want them to look good.
A quick dip in an acidic solution works wonders. It can be as simple as mixing a tablespoon of lemon juice into a bowl of water.
- Make the Solution: Just combine one tablespoon of lemon juice for every cup of cold water.
- Give 'Em a Quick Dip: Submerge your cleaned and sliced mushrooms for just a few minutes. Don't let them sit in there for too long.
- Pat Dry: Gently pat them dry with a paper towel before you lay them out on your dehydrator trays.
This little citric acid bath helps shut down the enzymatic browning that causes that discoloration, leaving your final product with a much brighter, more appealing look.
Combining these techniques can give you results that are not only perfectly preserved but also look fantastic. And for those interested in how these preservation methods translate to other forms, check out our guide on creating a potent magic mushroom extract.
How to Store Dried Mushrooms for Long-Term Potency
So, you’ve put in the work and your mushrooms are finally cracker-dry. But don't celebrate just yet—the job isn't finished. How you store them is just as critical as how you dried them. This final step is what separates a potent, year-long supply from a wasted batch that loses its magic in just a few months.
The biggest enemies of your carefully dried mushrooms are moisture, oxygen, and light.
Your first line of defense is a truly airtight container. Glass mason jars are the gold standard for a reason. They create a perfect seal that locks out humid air and oxygen, the two main culprits behind potency loss and spoilage. Steer clear of plastic bags or flimsy containers; they might seem fine, but they can let microscopic amounts of air seep in over time.

Creating the Ideal Storage Environment
Once your mushrooms are sealed up, where you put the jars matters immensely. Find a spot that is consistently cool, dark, and dry. A pantry, cupboard, or closet—away from heat sources like an oven or radiator—is perfect.
Direct sunlight is especially destructive. UV rays will actively break down the delicate compounds you worked so hard to preserve.
Key Takeaway: Think of your dried mushrooms like a fine spice. You wouldn't leave your paprika open on a sunny windowsill, and the same logic applies here. Consistent, dark, and cool conditions are non-negotiable for keeping them potent long-term.
If you live in a humid climate or just want maximum protection, adding absorbers to your jars is a total game-changer. These little packets actively fight the two main threats:
- Food-Grade Desiccant Packets: These suck up any trace moisture left over from drying or that might sneak in when you open the jar.
- Oxygen Absorber Packets: These do exactly what they sound like—remove oxygen from the sealed jar, preventing oxidation and preserving potency even further.
The effort you put into storage directly impacts the quality you get later. It's interesting to see how drying tech is evolving, too. Research into methods like microwave-vacuum drying has shown it can slash drying times by 70-90% compared to old-school hot air. Even better, mushrooms dried this way rehydrate 25-40% better, which is a huge plus when you're preparing them.
One last thing: always label your jars. Just jot down the mushroom type and the date you stored them. This simple habit ensures you use the oldest batches first and always know exactly what you’ve got. Proper storage is the final, essential piece of the puzzle, guaranteeing your supply stays potent and ready. For more deep-dive tips, check out our guide on the best way to store shrooms.
Got Questions About Drying Mushrooms?
Even with a perfect plan, you're bound to have a few questions pop up while you're drying your mushrooms. That's totally normal. Think of this as your go-to guide for those "am I doing this right?" moments. We'll clear up the common confusion and get you back on track.
How Do I Know When My Mushrooms Are Really Dry?
The gold standard here is simple: cracker-dry. This isn’t just a suggestion; it’s the only way to guarantee they'll last.
A perfectly dried mushroom won’t bend—it’ll snap. Try it. If you get a clean, satisfying crack right in two, you're golden. But if there’s even a hint of give, a leathery feel, or any flexibility at all, it means moisture is still hiding in there. Back to the dehydrator it goes.
Here's a pro tip: Do the jar test. Once you think they're done, toss a handful into a sealed glass jar. Let it sit for a day. If you see any condensation or 'sweat' on the inside of the jar, they're not ready. Give them another hour or two of drying time.
Why Did My Mushrooms Turn Super Dark?
A little darkening is totally fine, but if your mushrooms come out looking almost black, your heat was likely cranked up too high. You've essentially slow-cooked them instead of dehydrating them, which can mess with the final quality.
To avoid this, keep your dehydrator set below 60°C (140°F). Oxidation also plays a part in browning. If you want to get ahead of it, you can give your fresh mushrooms a quick dunk in some lemon water before you start the drying process.
What’s the Best Way to Clean Them Before Drying?
Rule number one: avoid water like the plague. Mushrooms are basically little sponges. Rinsing them just loads them up with moisture, making your drying time way longer than it needs to be.
Instead, grab a soft-bristled brush or a dry paper towel and gently wipe off any dirt. If you're working with bigger mushrooms, go ahead and slice them into uniform pieces—about 5-10mm (¼ inch) thick is perfect for even drying. Little guys can usually be left whole. The goal is to get them clean without making them wet.
Can I Just Point a Fan at Them?
You absolutely can. Using a fan is a classic air-drying method, and it works great, especially if you're in a place without much humidity. Just spread your mushrooms out on a mesh screen or a wire rack so air can get all around them, and point a fan right at them.
This no-heat method is fantastic for preserving the mushroom's delicate compounds, but it's a test of patience—it can easily take a few days. The biggest risk is mold, which can creep in if the air is too damp or the process takes too long. For the best shot at success, do this in a room with good ventilation to keep that moist air moving out.
Ready to explore a curated selection of premium mushroom products? Visit The Magic Mushroom Delivery today and discover everything from potent dried mushrooms to delicious edibles, all delivered discreetly to your door. Find your perfect match at https://themagicmushroomdelivery.com.