When you hear about a coconut oil infusion, it's really just a straightforward process where you gently pull the good stuff—the active compounds—from botanicals like mushrooms into coconut oil. Think of the oil as a perfect vehicle, soaking up all those desired properties. The result is a versatile and potent oil you can easily use in all sorts of recipes or wellness routines.
Why Coconut Oil Is the Go-To for Botanical Infusions
If you're diving into the world of homemade botanical creations, the carrier oil you pick is probably the most critical decision you'll make. Lots of oils can get the job done, but coconut oil consistently comes out on top for creating a powerful and effective infusion. Its unique chemical structure basically acts like a magnet, drawing the compounds you want out of the plant material and locking them in.
The secret is its high concentration of saturated fat. Unlike unsaturated oils like olive oil, the saturated fats in coconut oil create incredibly strong, stable bonds with the active compounds in your mushrooms or other botanicals. This high binding efficiency means you're getting a much more complete extraction. Less of the valuable material goes to waste, and your final product is consistently potent.
The Power Is in Your Hands
Making your own coconut oil infusion puts you in the driver's seat for the entire process, from start to finish. That's a level of control you just can't get with pre-made products off the shelf.
- Ingredient Quality: You get to hand-pick the botanicals and the type of coconut oil, making sure everything is up to your personal standards.
- Potency Control: You decide the exact ratio of mushrooms to oil. This lets you dial in the strength of your infusion to be exactly what you want and need.
- Purity and Simplicity: When you make it yourself, you know it's free from the weird additives, preservatives, or fillers that often sneak into commercial products.
This hands-on approach isn't just about ending up with a product; it’s about really understanding and connecting with the ingredients you're using. It turns the whole thing into a rewarding experience and gives you total confidence in the quality and safety of what you’re consuming.
Making your own infusions is empowering. It lets you create something perfectly customized for you. From potency to purity, you're in charge of every detail, which means you get a reliable and personalized experience every single time.
The push toward natural and plant-based wellness has also made high-quality ingredients like coconut oil incredibly popular. The market was valued at around $5.49 billion in 2025 and is expected to hit $7.61 billion by 2029. That massive growth shows a real consumer shift toward premium, natural products. You can dive deeper into the market insights on coconut oil's growth over at coconutcommunity.org. This guide will walk you through everything, step-by-step, so you can tap into the full potential of this amazing oil safely and effectively.
Gathering Your Tools and Ingredients
Before we jump into the fun part—actually making your own coconut oil infusion—we need to get our workspace in order. This prep stage is easily the most important step. A little organization here not only makes the whole process go smoother but is your best guarantee for a safe, consistent, and potent final product.
Think of it as mise en place for infusions. Getting everything clean, measured, and within arm's reach means you can focus on the craft without scrambling around later.
Choosing Your Core Ingredients
The first big decision you'll make is about your oil and your botanicals. The quality of these two things will absolutely define the quality of your finished infusion.
Your choice of coconut oil matters more than you might think. You'll generally find two types on the shelf: unrefined (or virgin) and refined. Unrefined coconut oil is my go-to when I want that distinct coconut aroma and flavor to come through. It's fantastic in tropical-themed edibles. On the flip side, refined coconut oil is processed to be completely neutral in taste and smell, which is perfect when you want the pure flavor of your mushrooms or herbs to be the star.
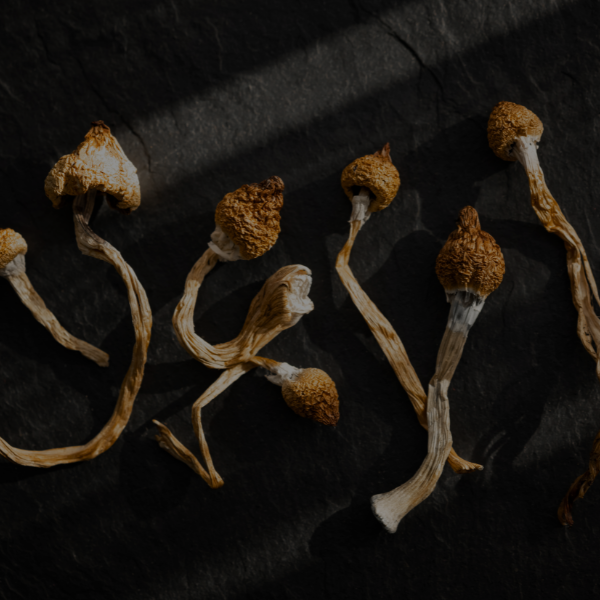
For your mushrooms, always, always start with high-quality, fully dried material. If you’re not sure about the best way to get them ready, our guide on how to prepare magic mushrooms walks you through it.
The golden rule is simple: better ingredients in, better product out. Don't skimp here. The best technique in the world can't rescue a bad starting point.
Essential Equipment for Your Infusion
With your ingredients sorted, it’s time to pull together your equipment. You don’t need a professional lab setup, but a few key items are non-negotiable for getting this right.
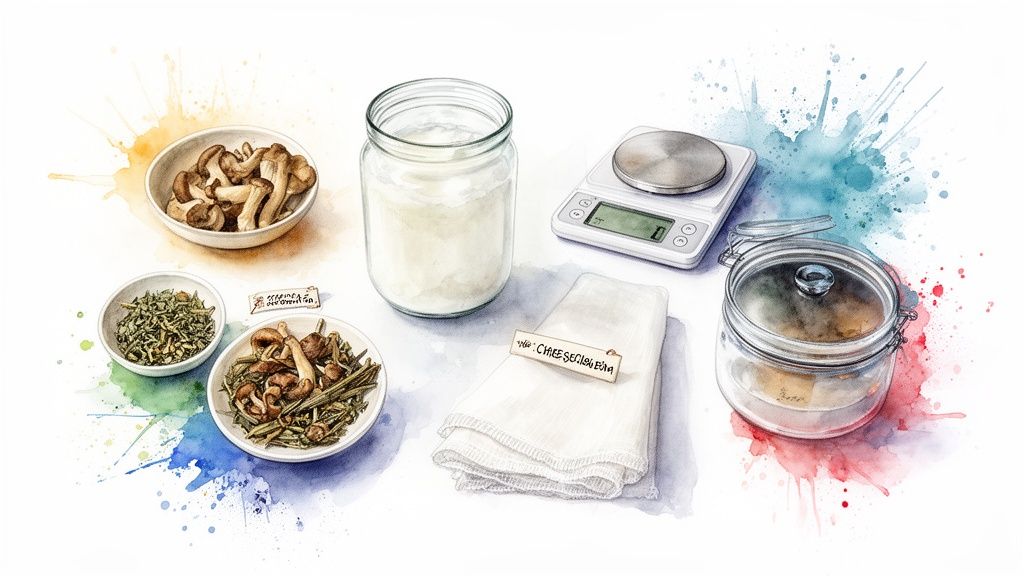
Getting your gear ready is crucial for a smooth and safe infusion. The following table breaks down exactly what you'll need and why each piece is so important.
Essential Equipment for Coconut Oil Infusion
| Category | Essential Items | Why It's Important |
|---|---|---|
| Measurement | Digital Scale | Precision is everything. Eyeballing ingredients leads to unpredictable results and inconsistent dosing. |
| Preparation | Grinder | A simple herb or coffee grinder breaks down your botanicals, maximizing surface area for a much more efficient infusion. |
| Straining | Cheesecloth or Fine-Mesh Sieve | This is for separating the plant material from the oil, leaving you with a clean, smooth, professional-grade product. |
| Storage | Airtight Glass Jars | Glass is non-reactive and an airtight seal is your best defense against air and moisture, keeping your infusion fresh and potent. |
Having these essentials on hand makes the entire process feel less like a chemistry experiment and more like a creative kitchen project.
Pro Tip: Have all your tools clean, dry, and laid out before you start. Trust me, it saves a ton of time and stress and lets you focus completely on the process without having to hunt for a strainer mid-infusion.
By taking a few minutes to get organized, you're setting yourself up for a seamless and successful experience. It's the small preparations that make all the difference when you're learning the art of infusion.
The All-Important First Step: Activation and Decarboxylation
Before your mushrooms even think about meeting the coconut oil, there's a non-negotiable step you have to take: decarboxylation. It’s a science-y sounding word, but all it really means is heating your botanicals to "activate" them.
If you skip this, your final infusion will be disappointingly weak, no matter how long you steep it or how much material you use.
Think of your dried mushrooms as a locked-up treasure chest. Decarboxylation is the key. It chemically transforms the compounds into a state that your body can actually absorb and use, making them bioavailable. This is how you unlock the full potential of your ingredients.
Why You Can’t Rush the Heat
Getting decarboxylation right is a delicate dance between temperature and time. Nailing this balance is what separates a potent, effective oil from one that’s either useless or completely ruined.
There are two main ways to mess this up, and both come down to impatience:
- Too much heat: If your temperature spikes, you’ll literally destroy the very compounds you're trying to activate. It’s like burning your dinner—once it’s gone, you can’t bring it back.
- Not enough time: Pulling your material out of the oven too early leaves the activation incomplete. You'll end up with a weak oil because most of the good stuff is still locked away.
Mastering decarboxylation means respecting the process. Gentle, controlled heat is your best friend. Cranking up the temperature to speed things up is the fastest way to waste your valuable botanicals and your time.
How to Decarb Perfectly in Your Oven
Your standard kitchen oven is the most reliable and accessible tool for the job. It gives you the consistent temperature control you need to get things just right.
Your goal is to heat the material to somewhere between 220–240°F (105–115°C) for roughly 30 to 40 minutes. This sweet spot is hot enough to trigger the chemical reaction without burning off the delicate compounds.
Here's how to do it:
- Get Your Oven Ready: Preheat it to your target temperature. I strongly recommend grabbing a cheap oven thermometer. The dial on your oven can be off by as much as 25 degrees, which is more than enough to ruin your batch.
- Prep Your Mushrooms: Break up your dried mushrooms into small, even pieces. You’re not aiming for a fine powder; think of a coarse, crumbly texture like oregano. This helps everything heat uniformly.
- Spread 'Em Out: Line a baking sheet with parchment paper and spread your material in a single, thin layer. Don't let it pile up—an even layer is crucial for consistent heating.
- Bake and Watch: Pop the baking sheet into the oven. Set a timer, but also use your eyes and nose. The mushrooms should turn a lovely golden-brown color and become very fragrant. If you see them getting too dark or smell anything remotely burnt, pull them out immediately.
Once the time is up, take the baking sheet out and let it cool down completely on the counter. Your botanicals will be dry and brittle, perfectly prepped for infusion.
Sidestepping Common Mistakes
Even though it’s a simple process, a few common slip-ups can happen. Knowing them beforehand will set you up for success right from the start.
The biggest mistake is blindly trusting your oven's dial. Ovens, particularly older ones, are notorious for temperature swings. Always, always, always use a separate thermometer to know what’s really going on in there.
Another pitfall is impatience. It's so tempting to turn up the heat to get it done faster, but this will absolutely destroy the active compounds. Low and slow is the only way to go. Trust the process, stick to the recommended guidelines, and you’ll create a perfectly activated base for a powerful and effective infusion.
Mastering Three Proven Infusion Methods
Alright, your botanical material is activated and ready to go. Now for the main event: the coconut oil infusion. This is where we gently coax all those wonderful active compounds out of the mushrooms and into the oil. It’s a bit of an art, but a simple one.
We’ll walk through three solid methods. Each has its own vibe, so you can pick the one that fits your kitchen and your style.
The goal is always the same, no matter which technique you use: keep the temperature low and steady for several hours. This "low-and-slow" approach is the secret sauce for a potent, flavorful oil. It ensures you get a full extraction without accidentally cooking off the very compounds you just activated. Rushing this with high heat is the fastest way to a weak, disappointing infusion.
The Reliable Slow Cooker Method
For a hands-off, set-it-and-forget-it approach, you really can’t beat a slow cooker. It’s a classic for a reason and probably the most beginner-friendly way to get started. Plus, the lid does a decent job of keeping the tell-tale aromas from taking over your whole house.
Just toss your activated mushrooms and coconut oil right into the slow cooker. I find a good starting point is about one cup of oil for every 7 to 10 grams of botanical material, but feel free to tweak this for your desired strength.
Pop the lid on and set your slow cooker to its lowest setting, which should keep things in the 160-190°F (70-90°C) sweet spot. Let it all mingle for at least 4 to 6 hours, giving it a stir every now and then. Some folks swear by letting it go for up to 12 hours for maximum potency, but just keep an eye that it doesn't get too hot.
The Hands-On Double Boiler Method
If you don't have a slow cooker or you just prefer to be a little more involved in the process, the double boiler is a great option. It gives you more precise control over the heat, but it does ask for a bit more of your attention.
No dedicated double boiler? No problem. Just set a heat-safe glass or metal bowl over a saucepan with a couple of inches of simmering water. The trick is making sure the bottom of the bowl isn't actually touching the water—you want the steam to do the work, providing that gentle, even heat.
Combine your oil and activated material in the top bowl. Keep the water at a gentle simmer for 3 to 6 hours, and whatever you do, don't let it reach a rolling boil. You’ll need to top off the water as it evaporates, so keep a kettle of hot water nearby.
A Quick Tip from Experience: The biggest challenge with the double boiler is keeping that temperature steady. I always keep a digital thermometer handy and check it every half hour or so. If it starts creeping up, I just lift the bowl off the heat for a minute to let it cool. A little babysitting goes a long way for the quality of the final oil.
The Precision Sous-Vide Method
For the perfectionists out there who want ultimate temperature control and practically zero smell, the sous-vide method is in a league of its own. This technique uses a precisely controlled water bath to cook your sealed ingredients, making it pretty much impossible to mess up.
Start by combining your activated mushrooms and coconut oil in a vacuum-sealable bag. If you don't have a vacuum sealer, a quality zip-top freezer bag works fine; just use the water displacement method to push all the air out before you seal it tight.
Set your sous-vide circulator to your target temperature—anywhere in the 160-185°F (71-85°C) range is perfect. Submerge the bag in the water bath and let it infuse for at least 4 hours. Because the temperature is locked in, there's no risk of overheating, and the sealed bag means your kitchen stays odor-free.
This diagram breaks down the crucial prep step—activation—that you need to complete before diving into any of these infusion methods.
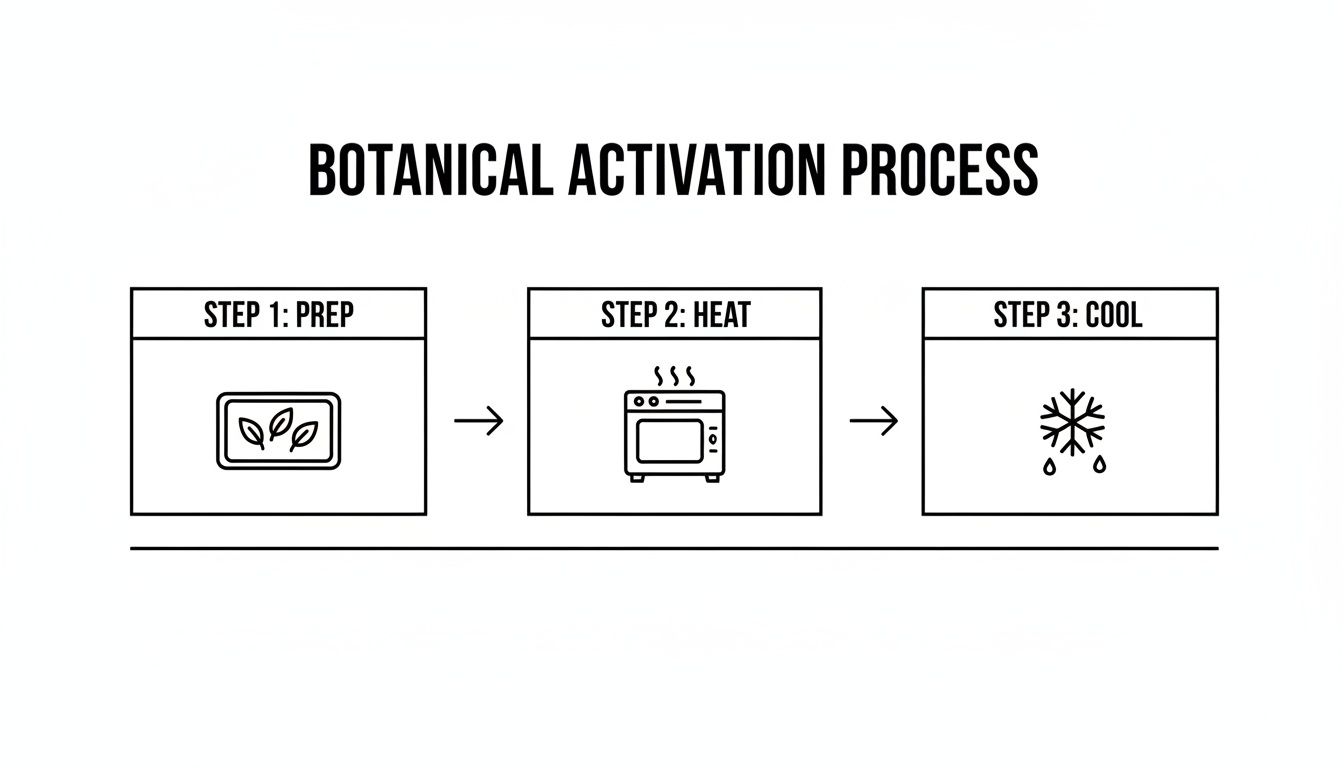
As you can see, getting your botanicals ready with this simple prep, heat, and cool process is the foundation for a successful oil infusion.
Comparison of Coconut Oil Infusion Methods
Choosing the right method really comes down to what gear you have on hand and how much you want to be involved in the process. To make it easier, here’s a quick side-by-side look at the three techniques.
| Method | Pros | Cons | Best For |
|---|---|---|---|
| Slow Cooker | Very easy, minimal supervision, decent odor control. | Less precise temperature control, can have hot spots. | Beginners or anyone wanting a simple, hands-off process. |
| Double Boiler | Good temperature control, uses common kitchen tools. | Requires frequent monitoring, not odor-free. | Hands-on cooks who enjoy being part of the process. |
| Sous-Vide | Perfect temperature stability, virtually no odor, foolproof results. | Requires specialized equipment. | Perfectionists seeking maximum potency and consistency. |
Ultimately, there's no single "best" method—just the one that’s best for you.
No matter which path you take, the final step is straining the oil. After your infusion is done and has cooled down just enough to handle, pour it through a fine-mesh sieve lined with cheesecloth and into a clean jar. Give the cheesecloth a gentle squeeze to get every last drop of that precious oil out. And that’s it—your infused coconut oil is ready to be stored and enjoyed.
Calculating Potency and Dosing Safely
Alright, you've done it. You’ve successfully made your first batch of infused coconut oil. The color is deep, the aroma is on point, and you’ve strained it to perfection.
Now comes the most critical part of the whole process: making sure you have a safe, predictable, and positive experience. Nailing the coconut oil infusion is only half the battle; knowing its strength is how you truly get it right.
Taking a few minutes to estimate your oil's potency is a game-changer. It takes all the guesswork out of the equation and lets you approach dosing with confidence. While you won't get lab-grade precision at home, a little bit of math can give you a solid ballpark figure to work from.
A Simple Formula for Estimating Potency
To figure this out, you just need two numbers: how much botanical material you used (in grams) and its estimated potency. Potency can be all over the place, so if you're not sure, it's always smarter to go with a conservative guess.
Here's the basic breakdown:
- Figure out the total active compound in milligrams. First, convert the weight of your mushrooms from grams to milligrams (1 gram = 1000 mg). Then, multiply that number by the estimated potency percentage. For example, 10 grams of mushrooms with an estimated 1% potency would be 10,000 mg * 0.01 = 100 mg of active compound.
- Measure your finished oil. After straining everything, carefully measure how much oil you're left with, either in milliliters or tablespoons.
- Do the final division. Divide the total milligrams of active compound by the total volume of your oil. This will tell you the strength per milliliter or per tablespoon.
This simple math turns a big unknown into a number you can actually work with. If you want to get a bit more dialed in, tools like a magic mushroom calculator can help you fine-tune your estimates.
The goal isn't perfect accuracy but responsible estimation. Having a rough idea of your infusion's strength is infinitely better than having no idea at all. It’s the foundation of a safe and positive experience.
Real-World Example and Dosing Advice
Let's walk through a real-world scenario. Say you infused 7 grams of mushrooms (let's stick with the estimated 1% potency) into 1 cup of coconut oil.
- Total Active Compound: 7 grams is 7,000 mg. At 1% potency, you're looking at 7,000 * 0.01 = 70 mg total.
- Total Oil Volume: 1 cup is about 16 tablespoons.
- Potency per Tablespoon: 70 mg / 16 tablespoons = roughly 4.4 mg per tablespoon.
Now you know that a single tablespoon of your oil contains about 4.4 mg. This is the key piece of information you need to measure out a dose responsibly and confidently.
The rising popularity of infusions like this is part of a much bigger trend. The global coconut oil market, valued at around $5.45 billion in 2025, is expected to climb to $5.91 billion in 2026 as more people look for natural, plant-based wellness options. You can read more about it in the coconut oil global market report.
When you're ready to try your infusion for the first time, just remember the golden rule: start low and go slow. Seriously. Begin with a tiny amount—maybe a quarter or half a teaspoon—and wait at least 90 minutes to two hours to see how you feel before even thinking about taking more.
Proper Storage and Creative Recipe Ideas
You've put in the time and care to create a beautiful coconut oil infusion. The last thing you want is for it to go bad or lose its potency. Getting the storage right is the final, crucial step to make sure your creation stays fresh and effective for months.
Your infused oil really only has two enemies: light and air. Exposure to either one will degrade the active compounds and can even make the oil go rancid. To protect it, always store your oil in an airtight, opaque glass jar. If you only have clear jars on hand, no problem—just wrap them in a bit of aluminum foil or tuck them away in a dark cabinet.
Keeping Your Infusion Fresh and Potent
The best spot for your oil is a cool, dark place like a pantry or cupboard. Heat is just as bad as light, so keep it well away from the stove, a sunny windowsill, or any other heat source.
Want to extend its life even further? The refrigerator is your friend. Your infused coconut oil will solidify when it's chilled, which is completely normal. Just let it sit at room temperature for a bit, and it'll melt right back to a liquid. For the longest possible shelf life, you can freeze it in ice cube trays. This gives you perfectly pre-portioned cubes that can last for up to a year.
Proper storage isn't just about freshness; it's about consistency. Protecting your oil from degradation means every dose you take will be as reliable and effective as the first one.
Interestingly, while we're all busy perfecting our homemade infusions, the bigger market is seeing some strange trends. Global coconut oil consumption was actually projected to decline by 1.2% each year, down to about 1 million metric tons by 2026. But at the same time, the market's value is going up, which tells us people are willing to pay more for high-quality, premium coconut oil. You can dig into more of these market dynamics over on ReportLinker.com.
Simple and Delicious Recipe Ideas
Alright, on to the fun part—actually using your infused oil! The beauty of coconut oil is just how versatile it is. You can work it into all sorts of recipes, from a simple daily habit to more creative treats.
Here are a few easy ways to get started:
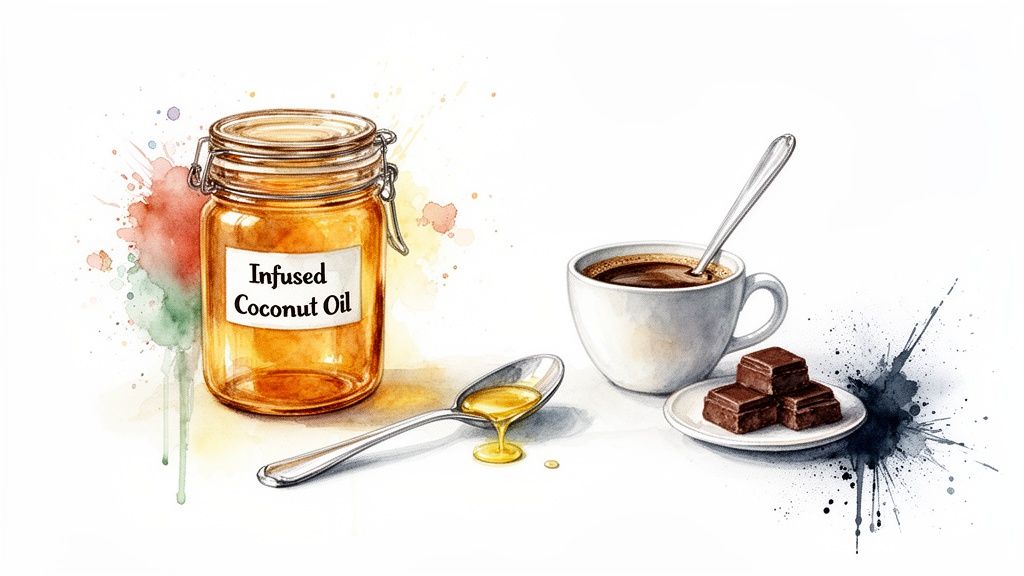
- Elevate Your Morning Routine: A measured spoonful stirred into your morning coffee or tea is a seamless way to start the day. The healthy fats in the coconut oil help it blend right into hot drinks.
- Boost Your Smoothies: Add your dose to any fruit or veggie smoothie. Not only does it add a nice, rich texture, but it also helps your body absorb all those fat-soluble nutrients.
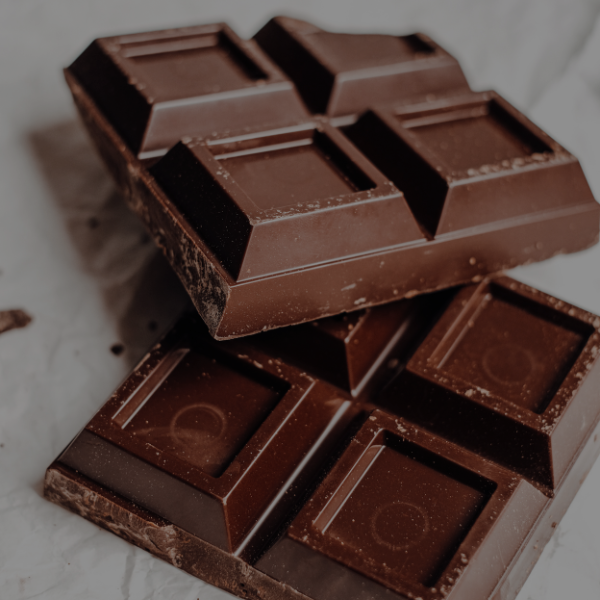
- Simple Infused Chocolates: This is a classic for a reason. Gently melt one cup of dark chocolate chips with two tablespoons of your infused coconut oil. Pour the mix into silicone molds, pop them in the fridge to set, and you've got delicious, easy-to-dose edibles.
These ideas are really just scratching the surface. If you're looking for more inspiration, you should check out our full guide on psilocybin mushroom recipes for other creative ways to use your infusions. The whole point is to make the entire journey, from making it to enjoying it, both easy and rewarding.
Got Questions About Your Coconut Oil Infusion?
Even with the best guide in hand, your first few attempts at making infused coconut oil can bring up some questions. It's totally normal. Let's walk through a couple of the most common issues people run into, so you can troubleshoot with confidence.
Why Does My Oil Look Green and Taste So… Grassy?
If your final product has a strong green tint and a really potent "plant-like" flavor, it’s a classic sign that you've extracted too much chlorophyll along with the good stuff. This isn't a disaster, but it's not ideal for flavor.
This usually happens for one of two reasons: either the botanical material was ground up too finely (think flour instead of coarse herbs), or the infusion temperature crept up a little too high. To fix this next time, go for a coarser grind—something more like dried oregano. And keep a close eye on your temps, remembering that low and slow is the goal. While a grassy taste can be a bit overpowering, it's mostly an aesthetic thing and shouldn't really impact the oil's potency.
Can I Get a Second Use Out of the Strained Plant Material?
It's a tempting thought—trying to get every last bit of value out of your ingredients. While most of the active compounds will have moved into the oil during that first infusion, there's always a little bit left behind.
You could try a second, shorter infusion with a fresh batch of oil, but just know that the result will be significantly less potent than your first run. Some folks toss the strained pulp into things like brownies, but be warned, it can seriously mess with the final texture and taste.
Honestly, the most powerful and effective extraction happens on that first go. A second run usually yields diminishing returns, making it more practical to just start fresh for a consistent, potent product every time.
Ready to create your own infusions with top-tier ingredients? The Magic Mushroom Delivery offers a curated selection of premium, organic mushroom products perfect for your next project. Explore our collection and start your creative journey today.