If you've ever thought about making your own mushroom chocolates, the process is surprisingly simple: melt some high-quality chocolate, stir in finely ground mushrooms, and pour it all into molds. That’s the gist of it. This hands-on approach gives you total control over the dosage and every single ingredient, guaranteeing a consistent and enjoyable final product. Honestly, it’s the best way to craft a premium edible that’s perfectly dialed in for you.
Why Crafting Your Own Mushroom Chocolates Is Better
Stepping into the world of homemade edibles is incredibly rewarding, and making your own mushroom chocolates is a fantastic place to start. The biggest win? The absolute control you have over the entire process. When you buy pre-made products, you're putting your trust in someone else's kitchen and their math. By doing it yourself, you call all the shots.
This means you can nail the dosage accuracy down to the milligram. No more guesswork. You know exactly how much of the active ingredient is in each piece, which is everything when you’re looking for a predictable and reliable experience.
Superior Quality and Flavor
Another huge perk is getting to pick your own ingredients. You choose the specific type of mushrooms and—just as important—the quality of your chocolate. Grabbing a premium dark, milk, or even white chocolate doesn't just make the final product taste a million times better; it also makes the melting and molding process go much more smoothly.
This control extends to the flavor, too. Let's be real, one of the main reasons people love mushroom chocolates is that they’re great at masking that distinct, earthy taste of the fungi. A rich, decadent chocolate is brilliant at covering up any bitterness, turning what could be a chore into a genuine treat.
The DIY approach is less about just following a recipe and more about mastering a craft. It empowers you to create a personalized product that aligns perfectly with your wellness goals, whether for microdosing or more profound experiences.
A Growing Trend You Can Master
The appeal of functional foods that blend a little indulgence with specific benefits is blowing up right now. In fact, the global mushroom chocolate market is growing at a wild pace, projected to hit USD 328.2 million by 2033. This surge shows a clear shift from consumers who want products that do more than just taste good. You can learn more about the booming mushroom chocolate market and see the full analysis.
By making your own, you’re not just hopping on a trend—you’re taking the reins. You're creating a high-quality, perfectly dosed, and delicious edible that is custom-made for you. It's an accessible craft that deepens your connection to both the ingredients and the final product you create.
Gathering Your Essential Tools and Ingredients
Before you jump into the fun part, let's get your kitchen set up for success. Just like a painter preps their canvas, gathering the right tools and ingredients beforehand makes the whole process flow smoothly and keeps you from scrambling later. Think of this as your pre-flight checklist.
You don't need a professional-grade kitchen, but a few key items are non-negotiable for getting this right. Precision is the name of the game here.
Essential Equipment Checklist
To make sure you're ready to go, I've put together a quick rundown of the gear you'll absolutely need. Having these items on hand will transform your experience from potentially frustrating to genuinely fun and rewarding.
| Tool | Primary Function | Pro-Tip |
|---|---|---|
| Digital Scale | Accurate mushroom dosing | Get one with 0.01g precision. A standard kitchen scale isn't accurate enough. |
| Double Boiler | Gently melting chocolate | Don't have one? A heat-safe bowl over a pot of simmering water works perfectly. |
| Silicone Molds | Shaping the chocolates | Far superior to ice cube trays. They're flexible, making it easy to pop out your creations. |
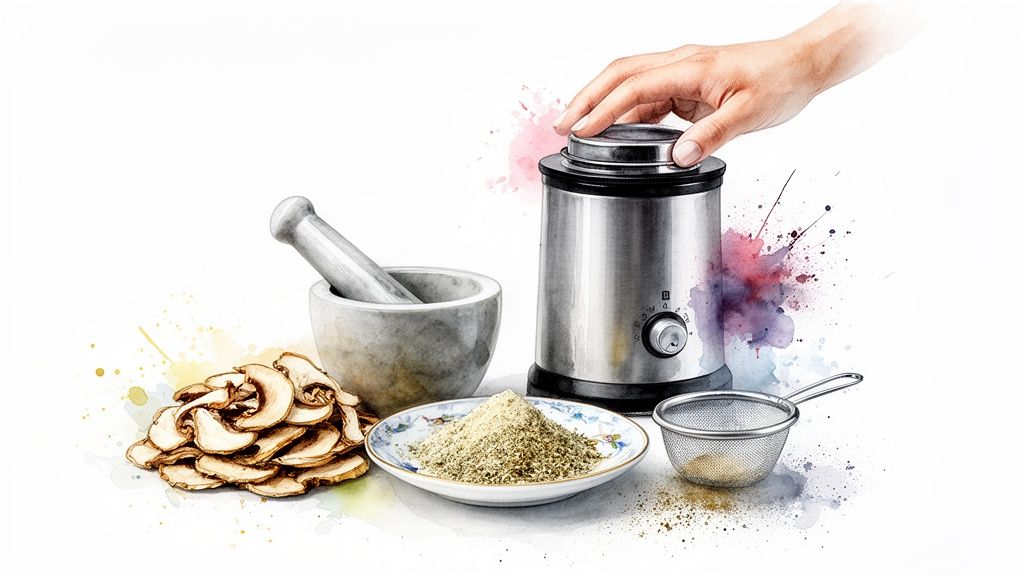
| Coffee Grinder | Powdering the mushrooms | A dedicated grinder is fastest, but a classic mortar and pestle gets the job done, too. |
Having these essentials ready makes all the difference, ensuring your final chocolates are both potent and professional-looking.
Your Must-Have Tools
Let's break down that gear a bit more. Some of these tools are absolutely critical for safety and consistency.
Your digital scale is, without a doubt, the most important piece of equipment you'll use. For consistent and safe dosing, you have to weigh your mushrooms accurately. A standard kitchen scale just won’t cut it; you need one that measures to the hundredth of a gram (0.01g) for real precision.
Next, you need a way to gently melt chocolate without it burning or seizing up. A double boiler is designed for this, but you can easily rig one yourself. Just place a heat-safe glass or stainless steel bowl over a small saucepan with an inch of simmering water. The trick is to make sure the bottom of the bowl never touches the water.
While you could get away with ice cube trays, flexible silicone molds are a game-changer. They make it incredibly easy to pop the finished chocolates out without any breakage, preserving their perfect shape. Plus, they come in all sorts of fun shapes and sizes.
Finally, to get your mushrooms evenly distributed throughout the chocolate, you’ll need to grind them into a super-fine powder. A clean coffee grinder you dedicate just to this purpose is the fastest route. If you prefer a more hands-on approach, a mortar and pestle also works beautifully.
Pro-Tip: When using a DIY double boiler, be extra careful that no water or steam gets into your chocolate. Seriously, even a single drop will cause it to seize into a grainy, unusable clump.
Selecting Your Core Ingredients
With your tools ready, let's talk ingredients. The quality of what you put in directly impacts the quality of your final product. This part is simple, but the details really matter.
First up, your dried mushrooms. The absolute most important factor here is that they are completely “cracker dry.” Any leftover moisture can wreck the chocolate's texture and lead to spoilage. If they feel even a little soft, you’ll need to dehydrate them more before grinding.
Next is the star of the show: the chocolate. I highly recommend using high-quality chocolate wafers or bars made for melting, often called "couverture" chocolate. These have a higher percentage of cocoa butter, which helps them melt smoothly and gives a much better final texture. Standard chocolate chips often contain stabilizers to help them hold their shape, which can make them tricky to work with here.
Finally, consider an optional but very helpful addition: coconut oil or cocoa butter. Just a tiny amount—about a teaspoon per cup of chocolate—can help thin the melted chocolate slightly. This makes it easier to mix in the mushroom powder and pour into the molds, giving you a smoother, more professional finish.
Preparing and Grinding Your Mushrooms
This next step is where the magic really starts to happen, and it's what separates decent mushroom chocolates from truly professional-grade ones. The goal is simple but absolutely crucial: turn your dried mushrooms into a powder as fine as you can possibly get it.
We're not just trying to break them up. We want a consistency that will melt away and become one with the chocolate, leaving no gritty texture behind. This meticulous preparation is also the secret to even dosing, eliminating any chance of "hotspots"—where one chocolate is unexpectedly potent while another is weak.
First Things First: They Must Be Cracker-Dry
Before you even reach for a grinder, check your mushrooms. They need to be bone-dry. I'm talking "cracker-dry," the kind that snaps cleanly when you try to bend it. Any flexibility or softness means there's still moisture hiding inside.
Moisture is the mortal enemy of chocolate making. Even a single drop can cause melted chocolate to seize up, turning your beautiful, silky liquid into a lumpy, unusable clump. Plus, any leftover moisture will dramatically shorten the shelf life of your final product.
If they’re not quite there, pop them in a dehydrator or on a baking sheet in the oven at a very low temperature (140-160°F or 60-70°C) until they're perfectly brittle. For more tips, check out our guide on how to prepare magic mushrooms for any recipe.
Choosing Your Grinding Tool
You’ve got a couple of good options here, and your choice can affect both the final texture and how much elbow grease is involved.
- Electric Coffee Grinder: This is the fast track. A dedicated coffee or spice grinder will blitz your dried mushrooms into a fine powder in just a few seconds. Just be sure to use short bursts to keep the motor—and your mushrooms—from overheating.
- Mortar and Pestle: The old-school method. It takes more time and effort, but it gives you incredible control and can be a pretty satisfying process. With a bit of patience, you can achieve a flour-like consistency that's hard to beat.
No matter which tool you use, the endgame is the same: a powder so fine it looks like cocoa powder.
Here's a pro tip I swear by: Sift the ground powder through a fine-mesh sieve. This catches any larger bits that escaped the grinder. Just toss them back in for another go. It’s an extra step, but it’s the key to a perfectly smooth infusion.
The Grinding Process
Alright, once you've confirmed your mushrooms are perfectly dry, it’s time to grind. If you're using an electric grinder, break the mushrooms into smaller, manageable pieces first. This helps the blades do their job without getting jammed.
Grind in short pulses, about 5-10 seconds at a time. This keeps the powder from clumping up and lets you check your progress. Between pulses, give the grinder a good shake to move everything around.
Keep at it until you have a uniform, fluffy powder with no visible chunks. It’s easy to get impatient here, but a few extra minutes spent grinding and sifting will make a world of difference. This is what transforms your edible from a homemade experiment into a gourmet-quality chocolate.
Calculating Your Doses with Confidence
One of the best parts about making your own mushroom chocolates is getting total control over the dose. This part might feel a little like a high school math quiz, but I promise it’s simple. Nailing this calculation is what separates a consistent, reliable experience from a total guessing game.
The basic idea is just this: divide the total weight of your mushroom powder by the number of chocolates you’re making. That’s it. That one simple step gives you the exact dose in every single piece.
The Basic Dosing Formula
Let’s get right to the formula you’ll be using. This is the key to making every batch with total assurance.
(Total Grams of Mushroom Powder) ÷ (Number of Chocolate Mold Cavities) = Grams Per Chocolate
This little equation takes all the guesswork out of the process. Before you even think about melting chocolate, you can plug in your numbers and know exactly how strong each piece will be.
You can even work backward. Say you want each chocolate to have 0.5 grams and your mold has 10 spots. You know you'll need 5 grams of mushroom powder to start with (0.5g x 10 = 5g). Easy.
A Practical Dosing Scenario
Let's walk through a real-world example. Imagine you have a silicone mold with 12 heart-shaped cavities and you've just ground up 6 grams of dried mushrooms.
Using our formula, it looks like this:
6 grams ÷ 12 chocolates = 0.5 grams per chocolate
Every single heart-shaped treat will contain exactly 0.5 grams of mushroom powder. It’s that straightforward. This precision lets you create batches for any occasion, from subtle microdoses to more significant journeys, all with complete confidence. To help plan your own batches, you might find our magic mushroom calculator useful for playing with different numbers.
The name of the game here is consistency. Whether you're making a small batch for yourself or a larger one to share, getting the math right ensures the first chocolate is just as potent as the last. That reliability is the mark of a well-made edible.
There's a reason chocolate is such a popular choice for edibles—it's great at masking the mushroom flavor and it's incredibly easy to portion out. It’s no surprise that a recent study found that a staggering 91.3% of psilocybin retail spots offered infused chocolate products. The research also revealed that 65.2% of these were designed to look like familiar, brand-name snacks, which just goes to show how perfectly chocolate fits what people want. You can read the full research about these market insights for a deeper dive.
Sample Dosing Calculations
To give you a better feel for how this works in practice, here are a few common scenarios. This table can help you visualize how changing your mushroom amount or mold size impacts the final dose per piece.
| Total Mushroom Powder | Number of Chocolates | Dose Per Chocolate |
|---|---|---|
| 3 grams | 15 | 0.2 grams |
| 5 grams | 10 | 0.5 grams |
| 7 grams | 14 | 0.5 grams |
| 10 grams | 20 | 0.5 grams |
| 10 grams | 10 | 1.0 gram |
| 15 grams | 15 | 1.0 gram |
As you can see, you have complete control over the final potency just by tweaking your starting numbers. Always, always use a high-precision digital scale for these measurements. When it comes to dosing, accuracy is everything. With this knowledge, you're ready to make your chocolates with precision and safety.
The Art of Infusing and Tempering Chocolate
Now that your mushroom powder is ready and your doses are mapped out, it's time for the fun part—bringing it all together in chocolate. This is where your creation really starts to take shape. You've got two great ways to go about this, and each offers a different balance of speed and professional finish.
The first route is a simple melt-and-mix technique. It's fast, straightforward, and perfect if you're just starting out or short on time. The second is tempering, a more refined process that gives your chocolates that beautiful glossy shine and satisfying snap when you bite into them.
The Quick and Easy Melt-and-Mix Method
This is the most direct path to delicious, infused chocolates. The whole process is about gently melting your chocolate, stirring in the mushroom powder, and pouring it all into your molds. Honestly, it’s a nearly foolproof way to get the job done.
Here’s how you do it:
- Set Up Your Double Boiler: Grab a heat-safe bowl and place it over a saucepan filled with about an inch of simmering water. The key is making sure the bottom of the bowl doesn't actually touch the water.
- Melt the Chocolate: Add about two-thirds of your high-quality chocolate to the bowl. Stir it constantly with a spatula until it's completely melted and smooth.
- Incorporate the Rest: Take the bowl off the heat and stir in the remaining one-third of the chocolate until it’s all melted in. This little trick helps cool it down a bit, which really improves the final texture.
- Add the Mushroom Powder: This is the moment of truth. Sprinkle your finely ground mushroom powder into the melted chocolate. Stir thoroughly until it's completely blended and you don't see any clumps.
- Mold and Chill: Carefully pour your infused chocolate mixture into the silicone molds. Give the mold a few gentle taps on the counter to release any trapped air bubbles, then pop it in the refrigerator for at least an hour to set up.
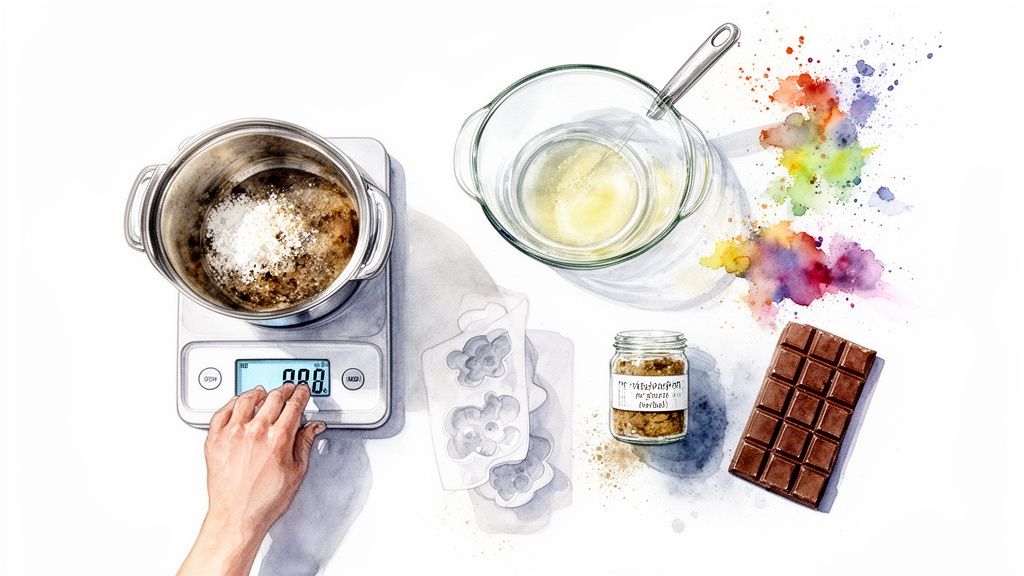
This simple flowchart breaks down the core idea behind prepping and portioning your infusion.
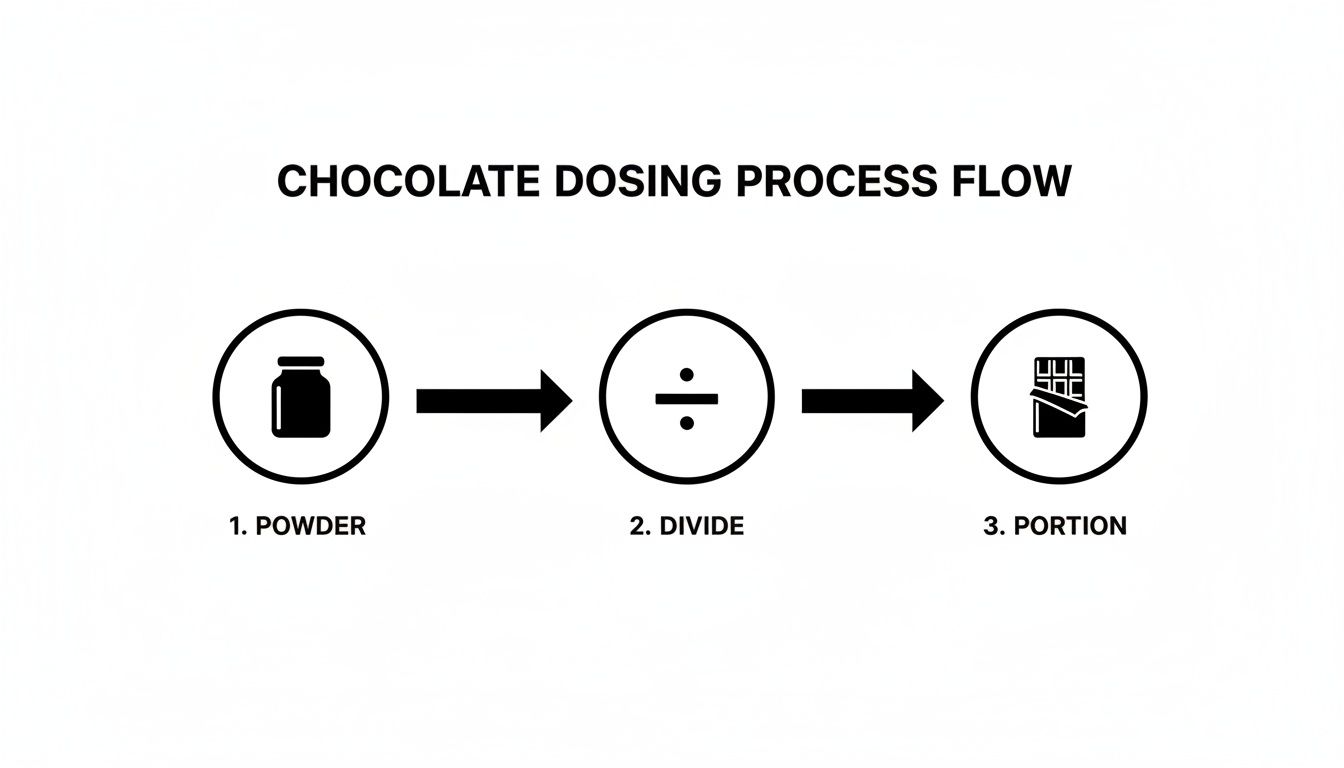
This visual process—powder, divide, and portion—is the foundation for making sure every single chocolate comes out consistent and reliable.
Mastering the Art of Tempering Chocolate
If you’re aiming for that professional, store-bought look and feel, tempering is the technique to master. It’s a process of controlled heating and cooling that lines up the cocoa butter crystals in the chocolate just right. This is what creates that gorgeous glossy finish, a firm texture, and that signature snap.
Untempered chocolate is perfectly fine to eat, but it can sometimes have a dull, chalky, or streaky appearance, which is known as "bloom." Taking the extra time to temper elevates your creation from a simple homemade edible to a truly gourmet confection.
Don’t let the term intimidate you. Tempering is just about hitting a few key temperatures. A good digital food thermometer is your best friend here, taking all the guesswork out of the process.
Here's a simple way to temper using your double boiler:
- Melt: Heat dark chocolate to 115-120°F (46-49°C). If you're using milk or white chocolate, the target is a little lower, at 110-115°F (43-46°C).
- Cool: Remove the bowl from the heat and let the chocolate cool, stirring it occasionally, down to about 82°F (28°C). This is the point where you'll stir in your mushroom powder.
- Reheat: Briefly put the bowl back over the simmering water and heat it back up to a working temperature of 88-90°F (31-32°C) for dark chocolate, or 84-86°F (29-30°C) for milk or white chocolate.
Once your chocolate is tempered and infused, you're ready to pour it into the molds and let it set at room temperature. For an even smoother, less gritty texture, you can also explore making a coconut oil infusion with your mushrooms before adding that mixture to the chocolate.
Proper Storage, Labeling, and Responsible Use
Alright, your chocolates are finally set, and you've popped them out of the molds. The hard part is over, but don't get ahead of yourself. Taking a few moments to handle these last steps properly will make all the difference in keeping your creations fresh, potent, and safe.
First things first, let's talk storage. The active compounds in your mushrooms are delicate. They really don't like heat, light, or air, which can cause them to break down and lose potency over time. Your job is to shield your chocolates from these elements.
Keeping Your Chocolates Fresh and Potent
The absolute best way to do this is with an airtight container. Think glass jars with a solid seal or those food-grade silicone bags. This is your first line of defense against oxidation and any unwanted moisture.
Once they're sealed up, tuck them away in a cool, dark place. A pantry, a cabinet, or even the back of a drawer will do the trick. A lot of people go for the refrigerator, and that’s a great move for long-term storage—we’re talking several months. Just make absolutely sure your container is sealed tight to keep any condensation out.
The Critical Importance of Labeling
This is the one step you absolutely cannot skip. For your own safety and the safety of others, every single batch you make needs to be clearly labeled. Think of it as a user manual for your future self.
Make sure your label has these three things, no exceptions:
- Dose Per Piece: State the exact amount of mushroom in each chocolate. For example: "0.5g per piece".
- Total Potency: It's also a good idea to note the total amount you used for the whole batch.
- Date Made: This is just good practice for tracking freshness.
Taking thirty seconds to do this removes all the guesswork later. It’s a simple habit that ensures every experience is predictable and safe.
Labeling isn’t just about being tidy—it's a core principle of harm reduction. It ensures anyone who has one of these chocolates knows exactly what they're getting into, which is the foundation of using them responsibly.
A Note on Responsible Consumption
With your chocolates safely stored and clearly labeled, the last piece of the puzzle is mindful use. The kind of experience you have is hugely influenced by your mindset and environment—what people often call "set and setting."
Always enjoy your creations in a place where you feel comfortable, safe, and completely at ease. If you're exploring higher doses, it's always a smart idea to have a trusted, sober friend with you.
And remember, always start low, especially with a new batch. Give yourself time to understand its unique effects before you even think about having more. Respect the substance and the process, and you'll set yourself up for a positive and meaningful experience.
Got Questions? We've Got Answers
Even with the best guide, a few questions always seem to pop up, especially when you're just getting the hang of making your own mushroom chocolates. Let's tackle some of the most common ones I hear.
Think of this as your personal troubleshooting cheat sheet.
How Long Do Homemade Chocolate Mushrooms Last?
If you store them right, your chocolates will stay potent and delicious for a surprisingly long time. The biggest enemies here are heat, light, and air—keep those away, and you're golden.
The best method? Pop them into an airtight container and stick them in the fridge. Stored this way, they'll easily last for several months, and I've had batches stay good for up to a year. The chocolate itself is a great preservative. Just try to avoid the freezer; thawing can create condensation, and that moisture will mess with the chocolate's perfect texture.
Can I Use Any Type of Chocolate for This Recipe?
You could grab a bag of regular chocolate chips, but trust me, you'll be much happier with the results if you use high-quality chocolate. I recommend looking for chocolate wafers or bars made specifically for melting, often called couverture chocolate. They have a higher cocoa butter content, which is the secret to that perfectly smooth, silky melt.
The problem with cheaper chocolate chips is they often contain stabilizers to help them keep their chip shape when you bake cookies. Those same additives can make the chocolate clumpy, oily, or "seize up" when you try to melt it down, turning the process into a frustrating mess. It makes it really tough to get your mushroom powder mixed in evenly.
Choosing better chocolate isn't just about taste—it's about making the whole process easier and getting a much more professional-looking result. That small extra cost pays for itself in the final look and feel of your chocolates.
Why Does My Chocolate Look Dull and Chalky?
Ah, the dreaded "chocolate bloom." That dull, sometimes streaky or chalky finish is a classic sign that the chocolate wasn't tempered correctly. It happens when the cocoa butter separates and rises to the surface.
While it's totally safe to eat, it just doesn't have that beautiful glossy shine and satisfying snap you get from a perfectly made chocolate bar. Tempering sounds complicated, but it's really just a simple process of heating and cooling chocolate to specific temperatures to stabilize the cocoa butter. The best way to nail it is to follow a good tempering guide and use a food thermometer. You'll get that perfect, professional finish on your next batch.
Not feeling up for a kitchen project? The Magic Mushroom Delivery has a curated selection of premium, ready-made mushroom products, from chocolates to gummies and more. When you want a top-tier experience without any of the prep work, you can check out our collection.