Psilocybin mushroom recipes are a game-changer. They offer a fantastic way to enjoy the benefits of magic mushrooms by masking that distinct earthy flavor in delicious treats like chocolates, teas, and gummies. But it's not just about taste. These methods also open the door to much more precise, consistent dosing, making the whole experience far more predictable and enjoyable.
Why Culinary Psilocybin Is Taking Over
Turning magic mushrooms into kitchen creations has gone from a niche practice to the preferred method for many. The reasons are simple and incredibly practical: better taste, easier digestion, and more reliable effects. Let’s be honest, many people find the flavor of dried mushrooms… well, let’s just say it’s an acquired taste.
By folding them into foods you already love, you can completely sidestep the flavor issue. Imagine savoring a rich, dark chocolate truffle or sipping a warm, ginger-honey tea without any of the mushroomy notes. It makes the entire process so much more approachable, especially if you're just starting out.
On top of that, raw mushrooms can be a bit rough on the stomach for some, leading to nausea or general discomfort. Infusing them into foods or brewing them into tea helps break down the chitin—the tough material in the mushroom's cell walls that often causes digestive upset. The result is a much smoother, more comfortable physical ride.
The Core Principles of Mushroom Cooking
To nail your psilocybin recipes, you just need to keep a couple of key principles in mind. The most important one is heat management. Psilocybin is a delicate compound and can break down at high temperatures, which will tank the potency of your final product.
Pro Tip: Always use low, gentle heat. Never boil your infusions or bake your edibles at high temperatures. Think "low and slow."
Another absolute must is prepping the mushrooms correctly. You’ll want to grind your dried mushrooms into a fine powder, preferably with a coffee grinder. This is non-negotiable for a couple of reasons:
- Even Distribution: A fine powder mixes perfectly into things like melted chocolate or honey, making sure every single bite has a consistent amount of psilocybin. No surprise hot spots!
- Better Infusion: Grinding massively increases the surface area, allowing the active compounds to infuse much more efficiently into liquids, whether it’s hot water for tea or citrus juice for a lemon tek.
Before you jump into your first creation, it helps to have an idea of what to expect from each method. This quick guide breaks down the most popular recipes to help you decide where to start.
Psilocybin Recipe Quick-Start Guide
| Recipe Type | Average Prep Time | Primary Benefit | Best For |
|---|---|---|---|
| Mushroom Tea | 15-20 minutes | Faster Onset | Those seeking a quick, smooth experience with less body load. |
| Chocolates | 30-45 minutes | Great Taste & Dosing | Masking flavor and creating perfectly dosed, shareable treats. |
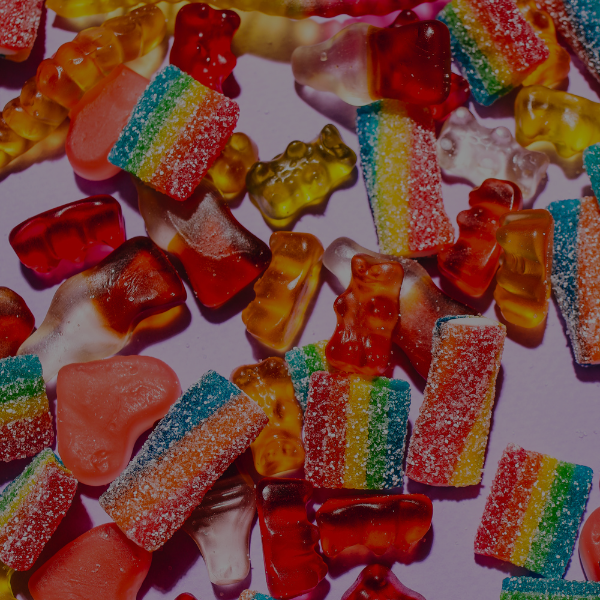
| Gummies | 45-60 minutes | Long Shelf Life | Making a large batch of precisely dosed, easy-to-store edibles. |
| Capsules | 20-30 minutes | Microdosing & No Taste | Anyone who wants zero taste and ultra-precise microdoses. |
Each of these recipes offers a unique experience, so don't be afraid to experiment and find what works best for your personal journey.
How Different Recipes Shape the Experience
The type of recipe you go with really can influence the arc of your trip. Teas, for instance, are famous for their quick come-up because the psilocybin is already suspended in liquid and gets absorbed fast. On the other hand, chocolates and gummies tend to have a slightly slower, more gradual onset since your body needs to digest them first.
This variety gives you the power to choose a method that lines up with the timeline and intensity you're looking for. It's no wonder this approach is booming; the number of U.S. adults who have tried psilocybin mushrooms shot up from 25 million in 2019 to 31.3 million by 2023, with many preferring these culinary methods. You can find more stats on this trend over at DenverHealth.org.
This guide will give you the foundation you need to start making your own safe, effective, and seriously enjoyable psilocybin-infused creations.
Gathering Your Tools and Sourcing Quality Ingredients
Before you jump into your first psilocybin recipe, a little prep work can make all the difference. Setting up your kitchen with the right gear is the first step toward creating edibles that are not just delicious but, more importantly, reliably dosed. Think of it as mise en place for your psychedelic culinary journey; the right tools take the guesswork out of the equation and make the whole process a lot smoother.
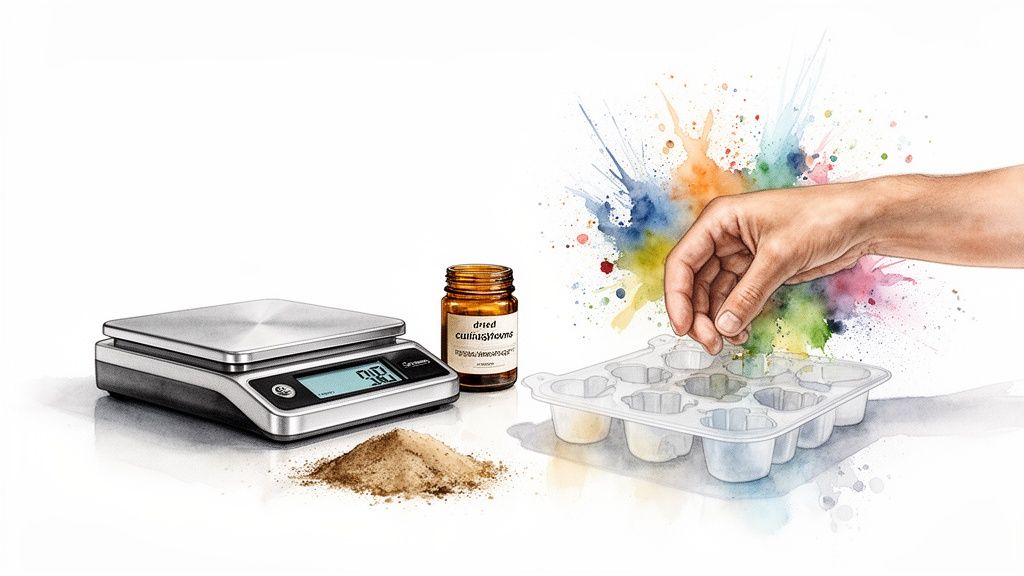
If you buy only one thing, make it a precise digital scale. I can't stress this enough. When you're working with potent ingredients, accuracy is everything. A scale that measures down to 0.1 grams—or even better, 0.01 grams—is what you need to weigh your mushrooms with confidence. This is critical for getting consistent, predictable effects every single time.
Next on the list is a dedicated coffee or spice grinder. To get an even distribution of psilocybin throughout your chocolate or tea, you need to pulverize your dried mushrooms into a superfine powder. This flour-like consistency helps the active compounds blend seamlessly, preventing "hot spots" where one bite is way stronger than the next. Finally, a few silicone molds are great for making professional-looking chocolates or gummies in uniform sizes, which makes portion control dead simple.
Why Sourcing Quality Mushrooms Is Non-Negotiable
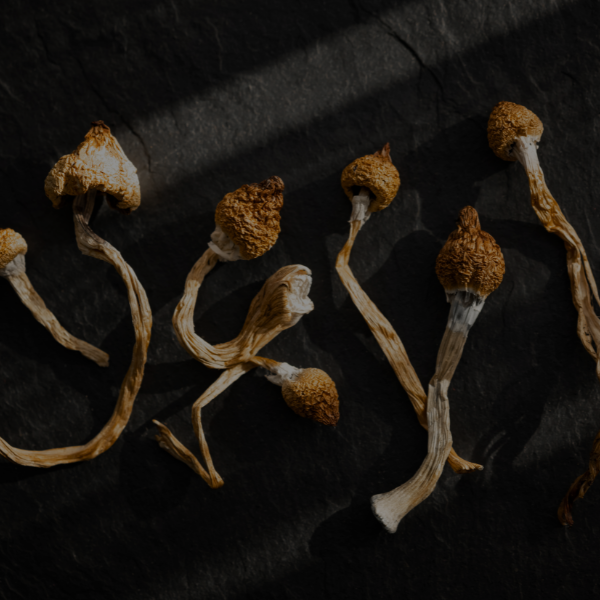
Just like any great meal, your psilocybin-infused creations are only as good as their starting ingredients. Kicking things off with high-quality dried mushrooms is fundamental for both the potency and the safety of whatever you make. Low-quality or poorly stored shrooms can lead to wildly inconsistent effects or, worse, introduce nasty contaminants.
So, what should you look for? Good-quality dried mushrooms should be completely brittle, what we call "cracker dry." If they feel soft or bendy, that’s a huge red flag for improper storage, which kills potency and invites mold. They should have a clean, earthy smell—if you get a whiff of anything musty or sour, something's wrong.
The goal is to source mushrooms that are uniform in appearance and species. This consistency ensures that the potency from one mushroom to the next is relatively stable, giving you a reliable baseline for calculating your doses.
The easiest way to guarantee you're starting with a great product is to buy from a trusted supplier. It just cuts out all the guesswork. A reputable source handles the quality control, giving you peace of mind. For anyone looking to find a reliable vendor, our guide on where to buy psilocybin mushrooms is a great place to start.
Your Essential Kitchen Checklist
To make it even easier, here’s a quick rundown of the tools that will set you up for success with just about any recipe you want to try.
- Digital Scale (0.01g precision): For non-negotiable dosing accuracy.
- Coffee/Spice Grinder: Your key to a fine, consistent powder for even mixing.
- Silicone Molds: For professional, easy-to-dose shapes in chocolates and gummies.
- Double Boiler or a Heatproof Bowl and Pot: Essential for gently melting chocolate without scorching it or degrading the psilocybin.
- Fine-Mesh Sieve or Cheesecloth: Perfect for straining mushroom tea to get a smooth, grit-free brew.
With these tools in your arsenal and a source for quality ingredients, you have everything you need to confidently start crafting your own psilocybin edibles. This foundation empowers you to follow recipes with precision, ensuring a safe and positive culinary journey from start to finish.
Crafting Perfectly Dosed Psilocybin Chocolates
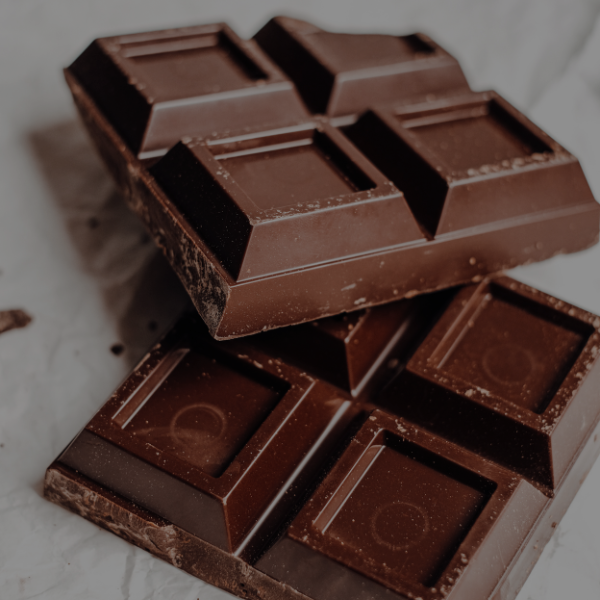
Infusing psilocybin into chocolate is a classic for a reason. Let's be honest, the earthy, often-funky taste of dried mushrooms isn't for everyone. The rich, bold flavor of cocoa is one of the best ways to completely mask that taste, turning the experience into a decadent treat.
This method is all about precision and patience. It's how you can transform a simple recipe into a reliable way to create perfectly dosed, enjoyable edibles.
The process itself is pretty straightforward, but the magic is in the details. From grinding your mushrooms into a superfine powder to gently melting the chocolate, each step contributes to the quality and consistency of your final batch. Nail these steps, and you’ll end up with professional-looking chocolates with a satisfying snap and, most importantly, predictable effects.
Mastering The Foundation Chocolate Technique
Here's the first and most important rule: avoid direct, high heat at all costs. Psilocybin is a delicate compound and can degrade when exposed to high temperatures, which will seriously reduce the potency of your final product. The safest and most effective way to melt chocolate is by using a double boiler.
Don't have one? No problem. You can easily rig one up. Just place a heatproof bowl (glass or stainless steel works great) over a small saucepan filled with an inch or two of simmering water. The key is to make sure the bottom of the bowl doesn't actually touch the water—it's the gentle steam that will melt the chocolate perfectly.
While your water comes to a simmer, finely chop up your chocolate. This increases the surface area and helps it melt quickly and evenly. Once the water is simmering, turn the heat down to low, place the bowl on top, and add your chocolate. Stir it occasionally with a rubber spatula until it’s silky smooth and completely melted.
Pro Tip: Before you start, wipe down the inside of your bowl and all your utensils. Seriously. Even a single drop of water can cause the chocolate to "seize," turning it into a clumpy, grainy mess that's impossible to salvage.
Once it's melted, take the bowl off the heat. This is a critical moment. You need the chocolate to cool down a bit before you mix in your mushroom powder. If it's piping hot, you risk degrading the psilocybin. Let it sit for a few minutes until it's just warm to the touch.
Achieving Dosing Accuracy
This is where your digital scale and a good coffee grinder become your best friends. First, figure out the total amount of dried mushrooms you need for your entire batch. For example, if you want to make 20 chocolates, each containing a 0.25 gram dose, you'll need a total of 5 grams of mushrooms (20 x 0.25g).
Next, grind your precisely weighed mushrooms into the finest powder you possibly can. The texture should be almost like flour. This step is absolutely non-negotiable for ensuring even distribution throughout the chocolate.
Once your chocolate has cooled down a bit, it's time to combine. Add the mushroom powder to the melted chocolate and stir, stir, stir. Scrape the bottom and sides of the bowl to make sure every last bit of powder is incorporated. You're aiming for a completely homogenous mixture so that each chocolate has a consistent, reliable dose.
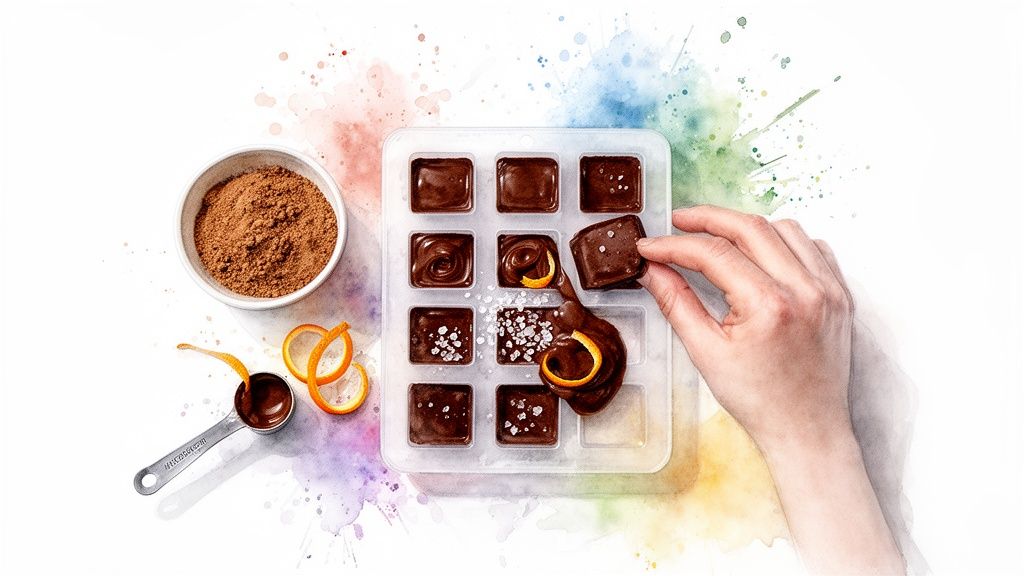
Pouring and Adding Creative Flavors
With your infusion complete, carefully pour the chocolate into your silicone molds. A small spatula or spoon can help guide the chocolate cleanly into each cavity. Give the mold a few gentle taps on the counter to release any trapped air bubbles and create a smooth, professional-looking surface.
Now's your chance to get creative. Before the chocolate sets, think about adding a little something extra to elevate the flavor and texture.
- A sprinkle of coarse sea salt beautifully enhances the rich flavor of dark chocolate.
- A tiny pinch of chili flakes or cayenne pepper adds a surprising warmth that pairs wonderfully with cocoa.
- Finely grated orange or lemon zest can introduce a bright, citrusy note that cuts through the richness.
After you’ve filled your molds and added any toppings, pop them in the refrigerator for at least 30-60 minutes, or until they are completely firm. The chocolates should pop right out of the silicone molds once they're fully set.
Understanding the nuances of how these edibles work can greatly improve your experience. For a deeper dive, you can explore our guide on mushroom chocolate effects.
Brewing Soothing Teas and The Potent Lemon Tek
If you're not a fan of chewing on dried mushrooms, liquid infusions are a classic way to go. Psilocybin mushroom recipes for teas and other drinks are loved for a reason—they're famously gentle on the stomach and tend to kick in much faster.
When you steep mushrooms in hot water, you’re essentially pulling out all the good stuff (the active compounds) while leaving behind the tough, indigestible chitin. For many people, that chitin is what causes nausea, so a good brew can make for a much smoother ride.
The two most popular methods are the gentle, soothing tea and the more intense, rapid-acting Lemon Tek. While both are simple to whip up, they offer totally different experiences. Knowing the difference will help you pick the perfect brew for your journey.
The Classic Psilocybin Mushroom Tea
A warm cup of mushroom tea is probably one of the most comforting ways to begin a trip. It's simple, effective, and you can easily customize it with your favorite flavors to mask the earthy taste of the mushrooms.
The most important thing to get right is the water temperature. You need to protect the psilocybin.
First, grind your dried mushrooms into a coarse powder. You don't need it to be super fine like you would for chocolates, but breaking it down helps the infusion process. As you're doing that, bring your water to a simmer, then take it right off the heat.
Crucial Tip: Never pour boiling water directly over your mushrooms. Extreme heat can degrade psilocybin and weaken your tea. The sweet spot is hot but not boiling, around 160-170°F (70-77°C).
Put your ground mushrooms in a mug, pour the hot water over them, and let the magic happen. A good steep time is anywhere from 10-15 minutes. While it’s steeping, feel free to add other ingredients to improve the flavor and help your stomach:
- Fresh Ginger: A few thin slices can work wonders for warding off any potential nausea.
- Honey or Agave: A little sweetness goes a long way to balance the mushroom flavor.
- Your Favorite Tea Bag: Mix it up with chamomile, peppermint, or green tea for a truly tasty blend.
Once it's done steeping, pour the liquid through a fine-mesh strainer or some cheesecloth to get all the mushroom bits out. Give the solids a good squeeze to get every last drop of liquid, and you're ready to sip.
The Fast-Acting Lemon Tek
For those who want a faster, more potent experience, the Lemon Tek is legendary. The theory here is that the citric acid in lemon juice starts converting the psilocybin into psilocin—the compound that your body actually uses—before you even drink it. This pre-conversion is thought to trigger a quicker, shorter, and often more intense journey.
The process couldn't be simpler. Start by grinding your dose of mushrooms into the finest powder you can manage. A coffee grinder is perfect for this; you want a flour-like consistency to give the acid maximum surface area to work on.
Next, put the fine powder into a shot glass. Squeeze just enough fresh lemon or lime juice to completely cover and saturate the powder. Give it a good stir to make sure everything is mixed, then let it sit for 15-20 minutes. Stir it once more about halfway through.
When the time is up, you can either take it like a shot (be prepared for a sour kick!) or dilute it with some water or juice to make it easier to drink. Because the effects can come on much faster—sometimes within 15-20 minutes—make sure you're already in a comfortable and safe setting before you drink it.
Comparing Tea and Lemon Tek
So, which one is right for you? It really comes down to what you're looking for.
Mushroom tea is the gentler, more predictable option. A standard recipe might involve steeping 1-2.5 grams of dried Psilocybe cubensis for 10-15 minutes. With tea, you can typically expect the effects to begin within 30-40 minutes and last for a standard 4-6 hours. It’s a reliable choice for a classic journey. If you want to dive deeper into the data, you can check out some more psilocybin facts and figures.
The Lemon Tek, on the other hand, is all about speed and intensity. It delivers a powerful experience, but its shorter duration might be perfect for those who don't have a full day to set aside for the trip.
A Practical Guide to Dosing, Storage, and Safety
So, you’ve mastered a few killer psilocybin recipes. Awesome. But making tasty edibles is only half the battle. Knowing how to properly dose, store, and safely enjoy your creations is what separates a good experience from a great one. This is where you dial in the journey to make sure it's predictable, positive, and responsible from start to finish.
Think of dosing less like a rigid rule and more like a personal calibration. Your own body chemistry, tolerance level, and even your mood on a given day can shift the outcome. This is exactly why the old wisdom—start low and go slow—is so critical, especially if you're trying a new recipe or are new to the scene.
Understanding Dosing Levels
To get where you want to go, you need to know how much gas to put in the tank. Doses are almost always measured in grams of dried mushrooms, and they generally fall into a few key categories, each with its own unique intensity.
Let’s break down what you can generally expect:
- Microdose (0.1–0.5g): This is sub-perceptual. You shouldn’t feel any classic psychedelic effects. Instead, people often report gentle lifts in creativity, mood, and focus throughout their day.
- Low Dose (0.5–1.5g): Sometimes called a "museum dose," this is your entry into a noticeable but very manageable experience. Expect mild euphoria, brighter colors, and a gentle shift in how you perceive things.
- Moderate Dose (1.5–3g): Now you're in classic trip territory. This range brings on more distinct visual and auditory hallucinations, opens the door for deep introspection, and significantly alters your perception of reality.
- High Dose (3g+): This is for experienced psychonauts only. High doses can lead to profound, mystical experiences, ego dissolution, and incredibly intense altered states of consciousness.
When you're making a batch of edibles, the math is your friend. Always calculate the total potency before you start portioning. For example, if you infuse 4 grams of mushroom powder into a chocolate bar that has 16 squares, each piece will contain 0.25 grams. Nailing this simple calculation is the key to consistent, predictable dosing every single time.
This chart can help you visualize how different prep methods line up with the kind of experience you're looking for.
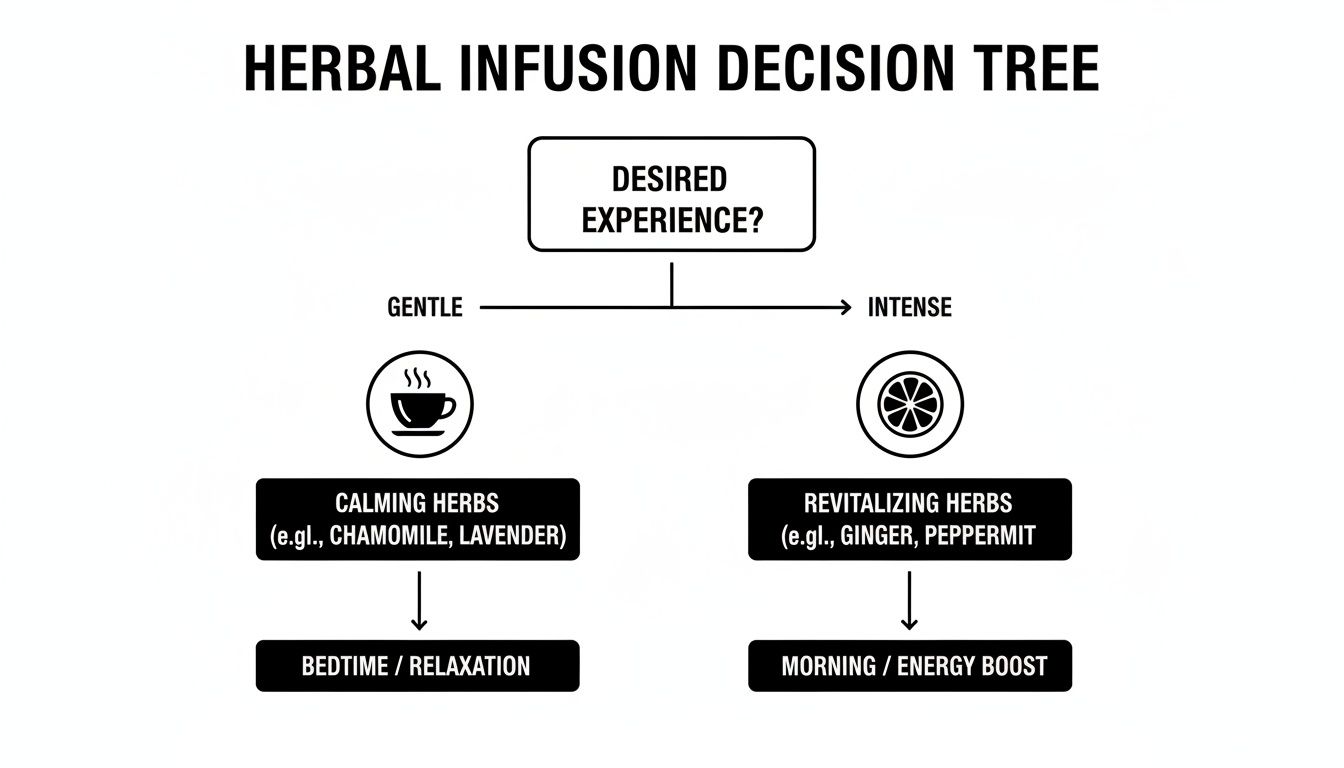
As you can see, a simple tea is a great choice for a gentler journey, while something like a Lemon Tek is often used to kick things up a notch.
For those who want a clearer picture of how these doses translate to real-world effects, here’s a quick reference table.
Psilocybin Dosing and Effects Guide (Dried P. cubensis)
| Dosage Range | Common Term | Expected Effects | Typical Duration |
|---|---|---|---|
| 0.1–0.5g | Microdose | Sub-perceptual; may enhance mood, focus, creativity. | N/A |
| 0.5–1.5g | Low Dose | Mild euphoria, enhanced senses, gentle visuals, light body high. | 3–5 hours |
| 1.5–3.0g | Moderate Dose | Strong visuals, altered perception, deep introspection, synesthesia. | 4–6 hours |
| 3.0–5.0g+ | High Dose | Intense hallucinations, ego dissolution, mystical experiences. | 5–7 hours |
This guide gives you a solid starting point, but remember that individual experiences can and will vary.
Storing Your Edibles for Maximum Potency
After all that work in the kitchen, the last thing you want is for your edibles to lose their punch. You have to store them correctly. Psilocybin is a delicate compound, and it has three main enemies: oxygen, heat, and light.
Luckily, proper storage is pretty straightforward. Your number one priority is an airtight container. Think glass jars with a tight seal or, even better, vacuum-sealed bags. Once sealed, find a cool, dark place for them.
The refrigerator is perfect for short-term storage, keeping things like chocolates and gummies fresh for a few weeks.
For anything longer, the freezer is your best friend. When properly sealed to avoid freezer burn, edibles can maintain their potency for several months, if not longer.
Getting your storage technique down is essential for preserving the quality of your creations. For a deeper dive into the specifics, check out the tips in our guide on the best way to store shrooms.
Harm Reduction: The Pillars of a Safe Journey
Beyond dosing and storage, the most crucial part of any positive psychedelic experience is a commitment to harm reduction. This is all about creating a supportive framework for your journey, and it boils down to two core concepts: set and setting.
"Set" is your mindset. It’s your internal world—your thoughts, mood, and intentions as you go into the experience. The best time for a journey is when you’re feeling mentally stable, open, and positive. If you’re feeling stressed, anxious, or emotionally underwater, it’s probably wise to wait for a better day.
"Setting" is your physical environment. You want to be in a place where you feel completely safe, comfortable, and free from interruptions. This could be your own cozy home, a quiet spot in nature, or anywhere you can truly relax and let go. A chaotic or unfamiliar environment is a recipe for anxiety.
Finally, one of the best safety measures you can take is to have a trip-sitter. This should be a trusted, sober friend who can simply be there for you. Their job isn’t to guide your trip but to hold a safe space, help with simple needs like getting water, and offer a comforting presence if you feel overwhelmed.
By prioritizing these principles, you’re not just being safe—you’re empowering yourself to have a truly meaningful and responsible journey.
Common Questions About Psilocybin Recipes
Jumping into making your own magic mushroom edibles is exciting, but it's natural to have a few questions. Getting these sorted out first is the best way to feel confident in the kitchen.
Think of this as a quick troubleshooting guide to handle the common "what ifs" before they even come up. We'll cover everything from heat concerns to storage so your culinary creations turn out perfect every time.
Does Cooking Psilocybin Mushrooms Reduce Their Potency?
This is easily the biggest question on everyone's mind, and for good reason. The short answer is: yes, it can—but only if you're careless with heat. Psilocybin is a sensitive compound, and blasting it with high temperatures will definitely cause it to break down, weakening the final product.
The trick is to use gentle, controlled heat.
- For mushroom tea: You want the water hot, but never boiling. A good target is around 160-170°F (70-77°C). This is hot enough to pull out the good stuff without destroying it.
- For chocolates: A double boiler is your best friend here. It uses gentle steam to melt the chocolate, so there’s no risk of scorching it or degrading the mushroom powder you’ll be adding.
- For baking: This one is tricky. Standard oven temperatures are way too high. The best workaround is to infuse your psilocybin into something you add after baking is done, like a frosting or a glaze.
Stick to these temperature guidelines, and you'll preserve the magic while creating something delicious.
How Long Can I Store Homemade Edibles?
Proper storage is everything. It keeps your edibles fresh and potent. How long they last really depends on what you've made and how you store it. Psilocybin’s main enemies are oxygen, heat, and light, so your job is to shield your goodies from all three.
First off, airtight containers are non-negotiable. Think glass jars with a solid seal or, even better, vacuum-sealed bags. Once they're packed up, find a cool, dark spot to stash them.
The fridge is perfect for short-term storage. Most chocolates or gummies will easily last a few weeks. For anything longer, the freezer is your best bet, pushing the shelf life out to several months without issue.
Will Freezing My Edibles Affect Potency?
Nope! Freezing is an excellent way to store your edibles long-term, and as long as you do it right, it won't hurt their potency one bit. It’s actually one of the most effective ways to preserve those delicate compounds.
The main thing to watch out for is freezer burn. To avoid this, make sure your container is genuinely airtight. Vacuum sealing is the gold standard here because it prevents ice crystals from forming and protects the infusion.
When you’re ready to enjoy one, just let it thaw out slowly in the fridge or on the counter. The freezer essentially hits the pause button on degradation, keeping your edibles perfectly preserved for whenever the time is right.
Ready to start your culinary journey with top-tier ingredients? At The Magic Mushroom Delivery, we provide a curated selection of high-quality, organic mushroom products perfect for any recipe. Explore our collection and find everything you need for your next creation at https://themagicmushroomdelivery.com.